
Adobe After Effects 147

『After Effects』でポップなもっふぃんぐーアニメーションが作りたいのですが
何か楽ちんな方法はないでしょうか(゚∀゚??
モーフィングねd( ̄∀ ̄;)w
価格は高めだけど…簡単にモーフィングアニメーションを作れるスクリプトがあるよ〜♪( ´θ`)ノ
ほんとですか( Д ) =͟͟͞͞ ⊙ ⊙でも高いんですね…
購入を検討したいので、よろしければ少しだけ解説を…|ω・`)チラッ
了解‼︎ どんなスクリプトなのか簡単に紹介するから検討してみてね〜( ´ ▽ ` )
*簡単にモーフィングアニメーションが作れるスクリプト『Super Morphings』を紹介した動画はこちら⬇︎⬇︎
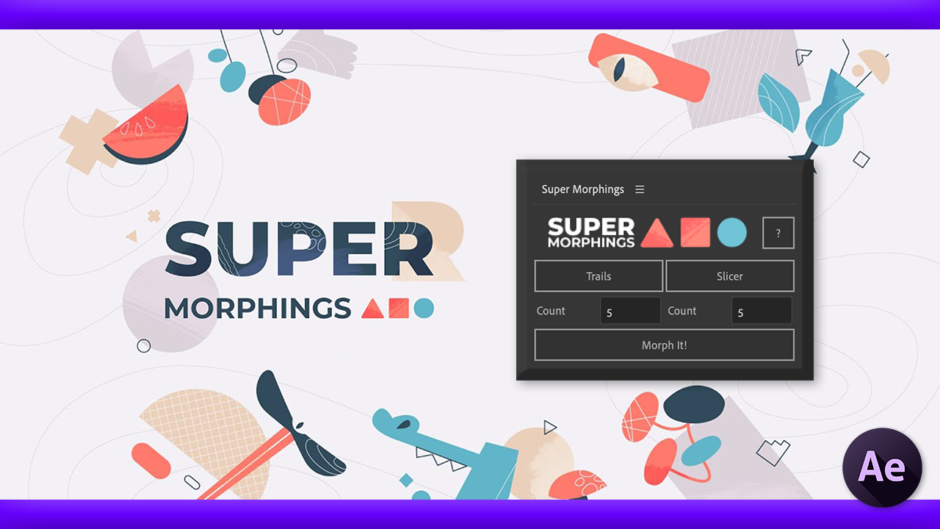
『Super Morphings』とは!?

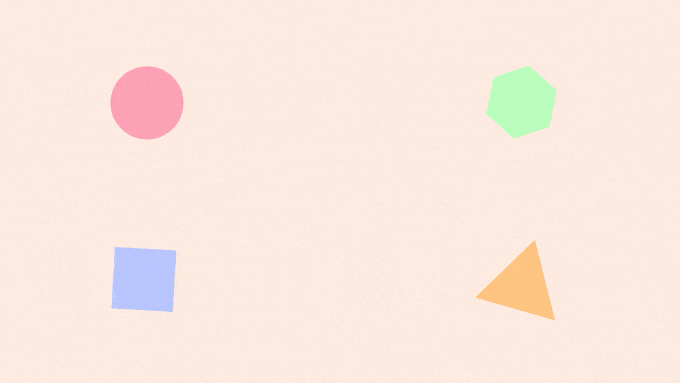
『Super Morphings』はシェイプやテキストのモーフィングが簡単にできてしまうスクリプトです。
あの『Motion Tools Pro』でお馴染み『Motion Design School』の開発ツールになるので
その実力は折り紙付きです。
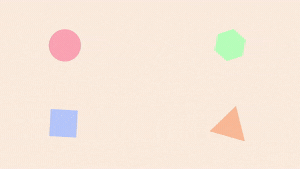
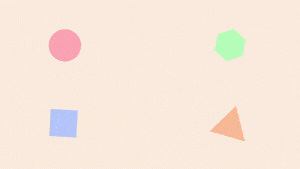
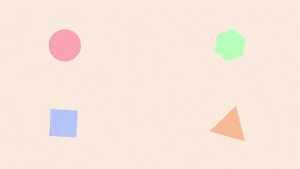
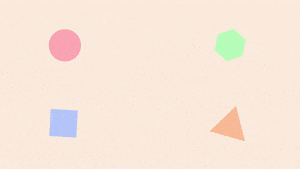
『モーフィング』は異なるオブジェクトを一方から他方の形に自然に変化させるアニメーション技法になります。
このモーフィングを一から作るとなると中々大変な作業ですが
『Super Morphings』を使えばあっという間にモーフィングアニメーションが完成します。
これは超便利ですね(゚∀゚!!
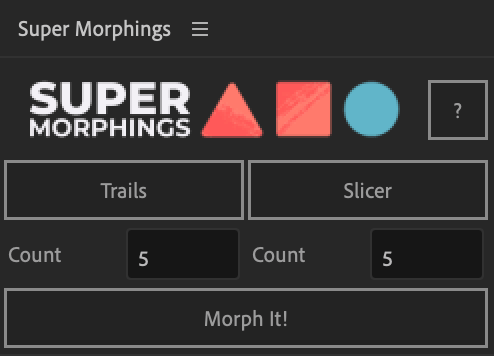
アニメーションに軌跡(Trails)をつけたり
レイヤーをバラバラにする(Slicer)機能もついてます。
テキストから画像、画像からシェイプなどなど、レイヤーであれば何でもモーフィングできます。

【『Super Morphings』の価格比較表 】
『Motion Design School』のツールは魅力的なのものが多いですが価格が少し高いですよね…(ー ー;)
セール時の購入がおすすめです!!
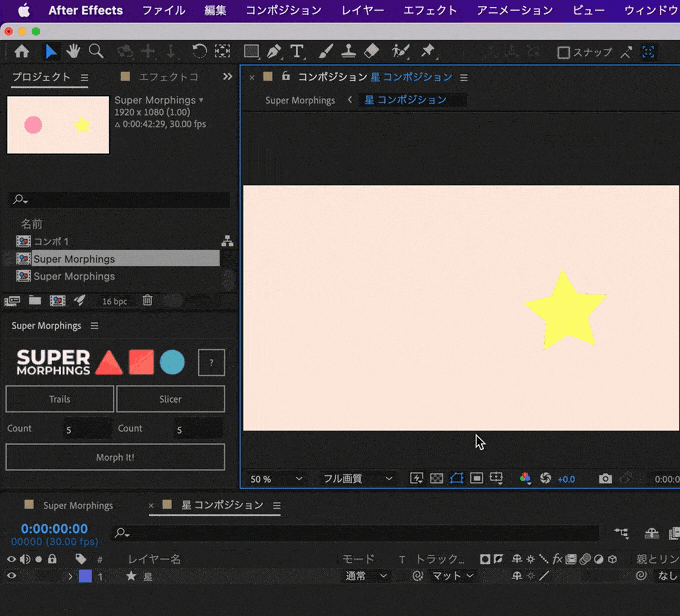
『Super Morphings』の使い方
『Super Morphings』の使い方を解説していきます。
『Super Morphings』を使えばあっという間にモーフィングアニメーションを作ることができます。
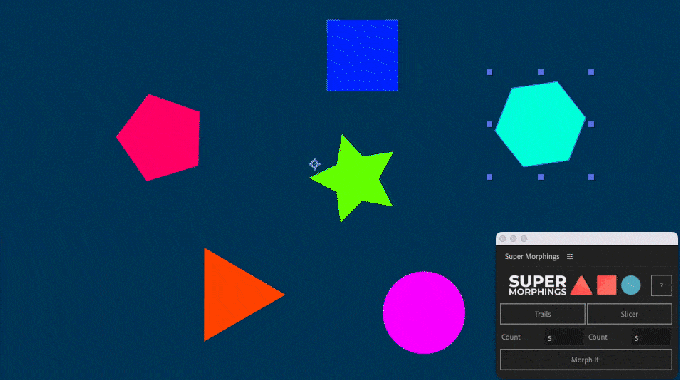
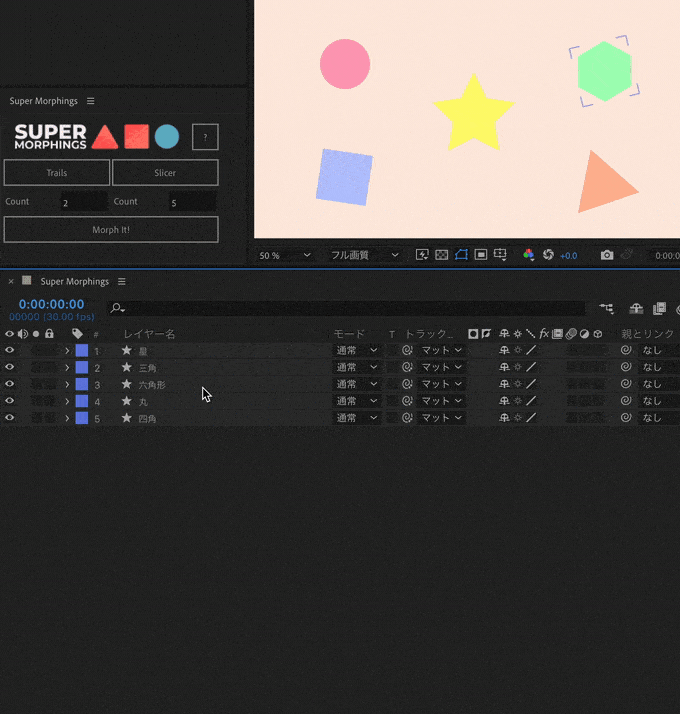
commandor Ctrl を押しながらモーフィングしたいレイヤーを選択していき
残したいレイヤーを最後に選択します。
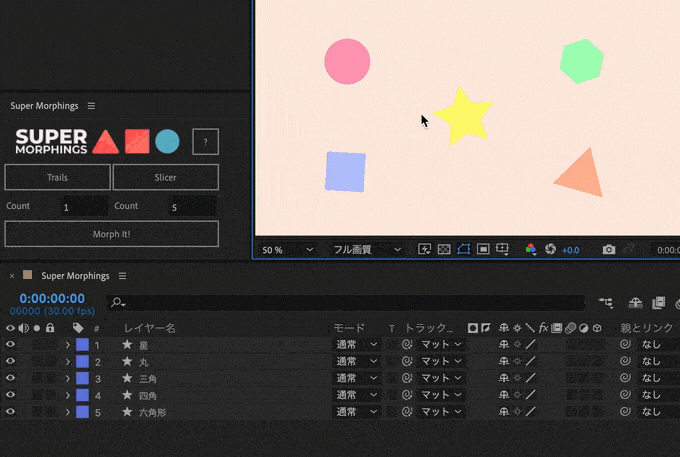
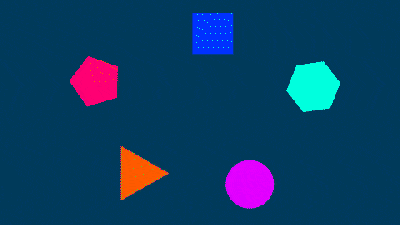
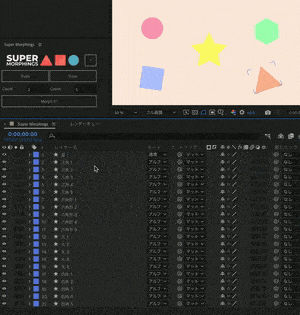
あとは『Morph It!』を選択すればモーフィングアニメーションの完成です。
最後に選択したレイヤーが残ります。
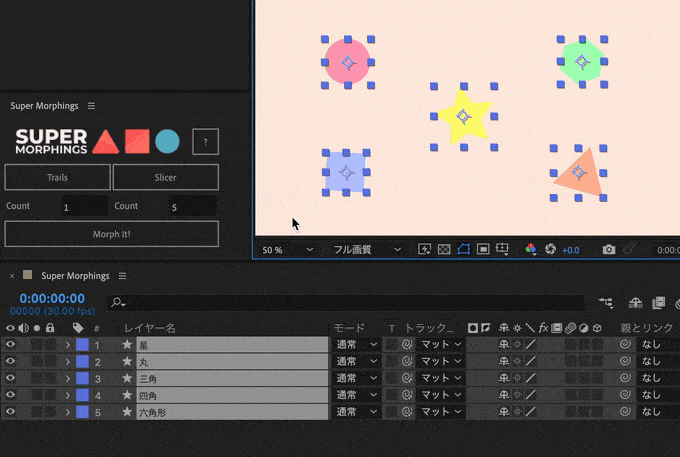
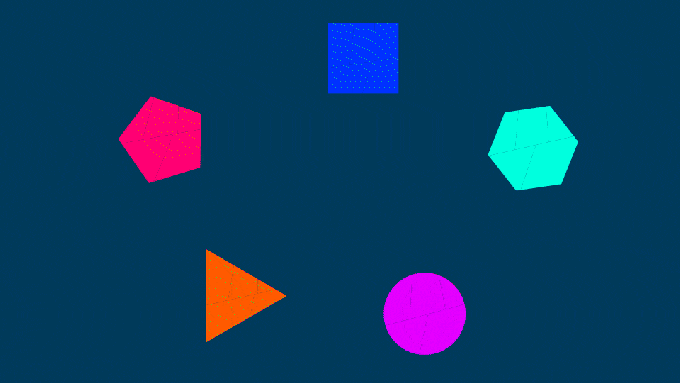
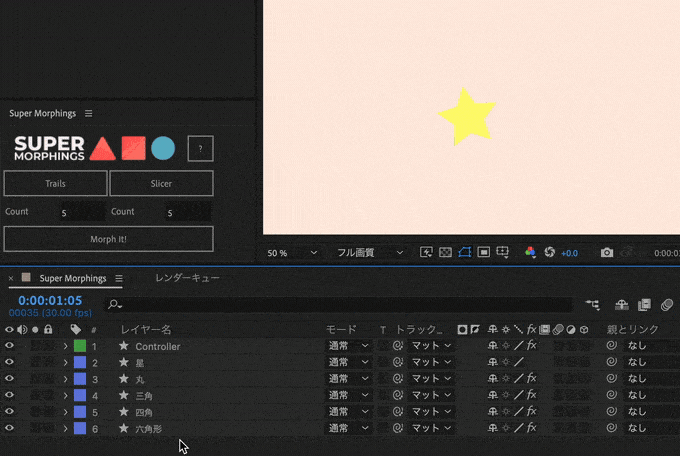
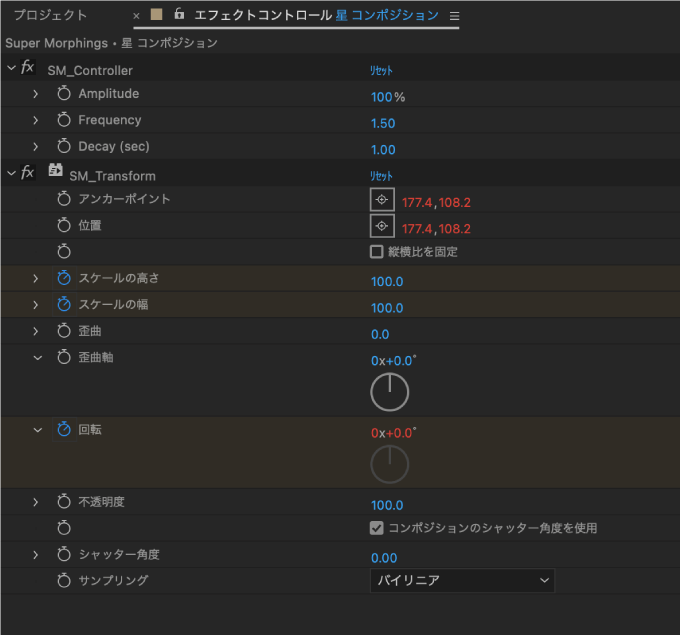
『Morph It!』でモーフィングアニメーションを作ると同時に『Controller』というレイヤーが作成されます。
『Controller』では『Amplitude』『Frequency』『Decay(sec)』を調整して
モーフィングアニメーションのバウンスを微調整することができます。

『Amplitude』は振幅 ▶︎ 広がる・弾むときの振れ幅を調整できます。
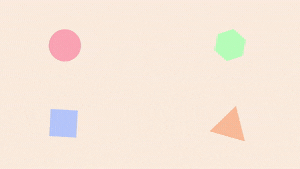
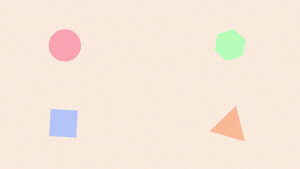
少しわかりにくいですが…最後に残った星の弾み具合を比較してみてくださいd( ̄  ̄)
『Frequency』は周波数 ▶︎ 広がる・弾むときに振動する回数を調整できます。
『Decay(sec)』は減衰 ▶︎ 広がった・弾んだ後の勢いが弱まる度合いを調整することができます。
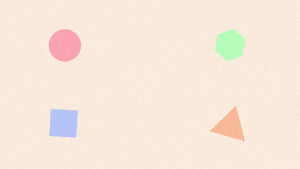
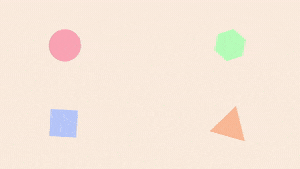
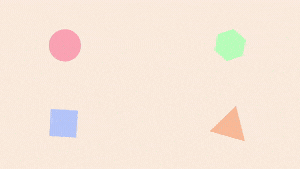
Trails ▶︎ アニメーションの軌跡にラインをつける方法
『Trails』を使えば、モーフィングするまでのアニメーションの軌跡にラインをつけることができます。
まずは『Morph It!』でモーフィングアニメーションをつけます。
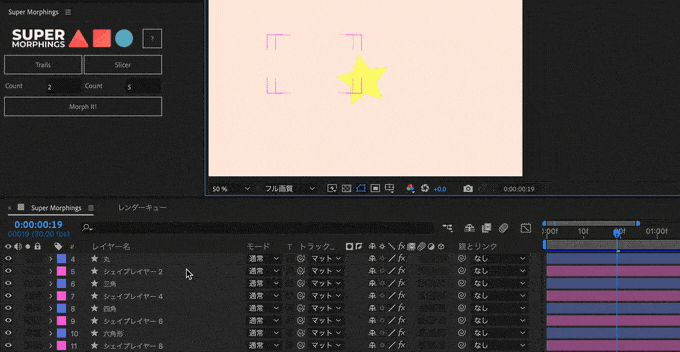
軌跡にラインをつけたいレイヤーを選択した状態で『Super Morphings』の『Trails』をクリックすると
選択したレイヤーのアニメーションの軌跡にラインをつけることができます。
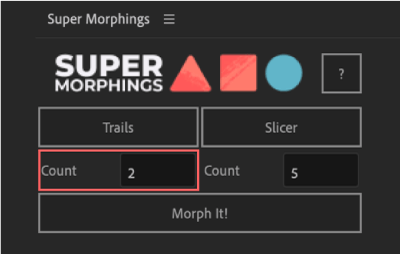
ラインの本数は『Trails』ボタンの下にある『Count』で調整することができます。
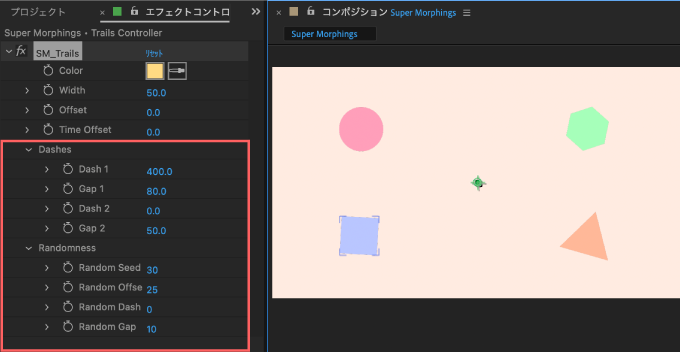
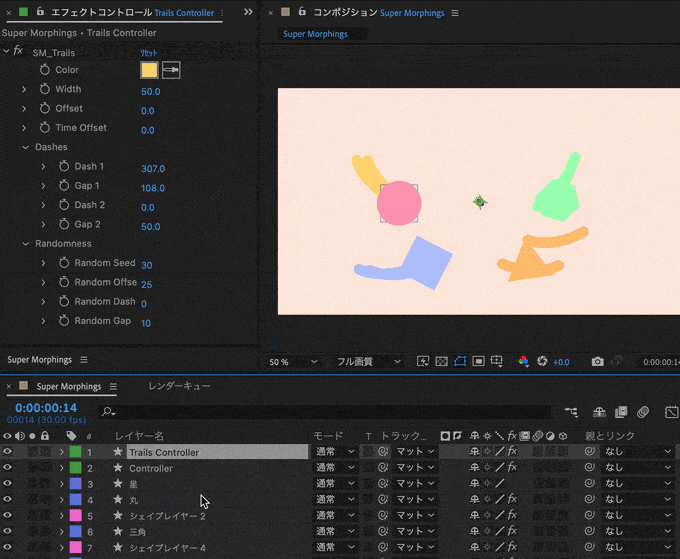
『Tarils』を適用すると『Trails Controller』レイヤーが追加されるので
ラインの色(Color)や幅(Width)、タイミング(Offset,Time Offset)を調整することができます。
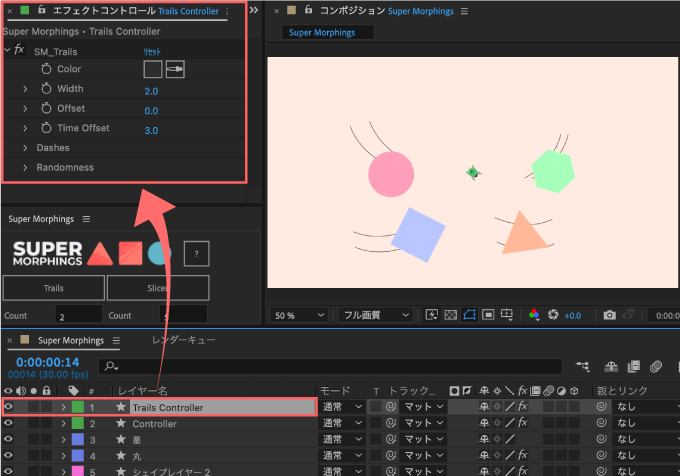

『Dashes』ではラインを波線に
『Randomness』ではラインのアニメーションをランダム化できます。

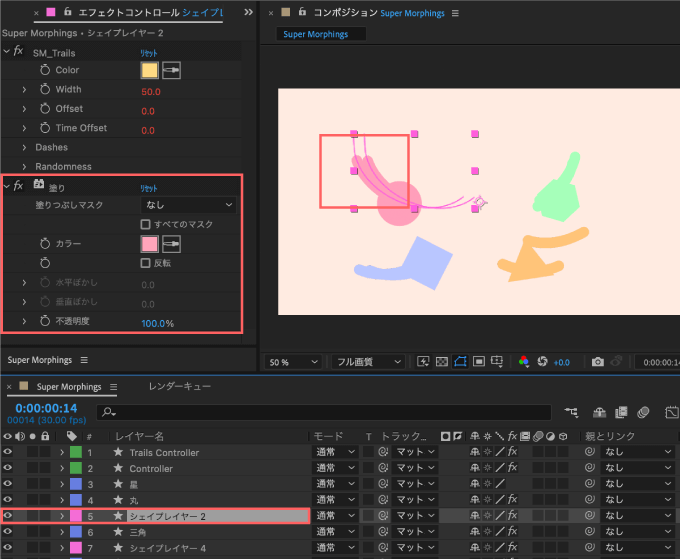
『Trails Controller』で調整すると適用した全ての『Trails』を一括で調整できますが
ラインを個別で変更したい場合にはそれぞれのシェイプレイヤー(ライン)を選択して
線幅やアニメーションの軌道などを変更することができます。
ラインのカラーは個別で変更しようとしても変更できないので
エフェクトの塗りを適用して変更することができます。
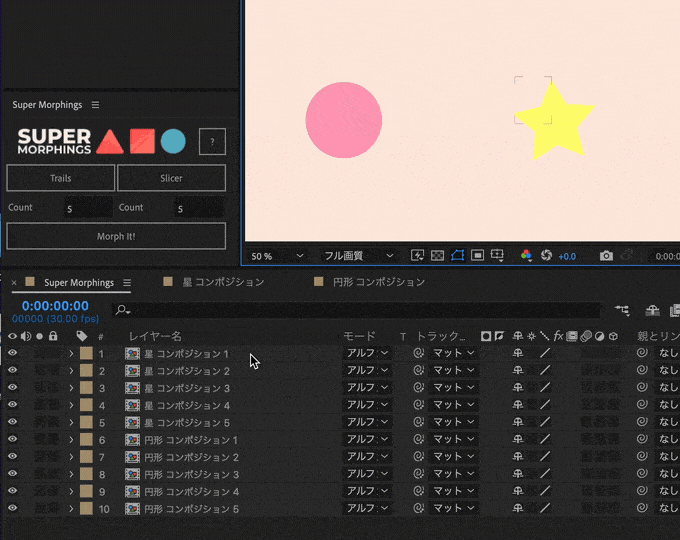
Slicer ▶︎ モーフィングするレイヤーをバラバラにスライスする方法
『Slicer』を使えば、モーフィングするレイヤーをバラバラにスライスすることができます。
スライスしたいレイヤーを選択した状態で『Slicer』ボタンをクリックすれば
『Count』で指定した数だけバラバラにスライスしてくれます。
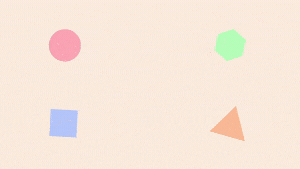
バラバラにスライスしたレイヤーを選択 ▶︎ 最後に残したいレイヤー(星)を選択した状態で
『Morph It!』を押せば、以下のようなモーフィングアニメーションができます⬇︎⬇︎

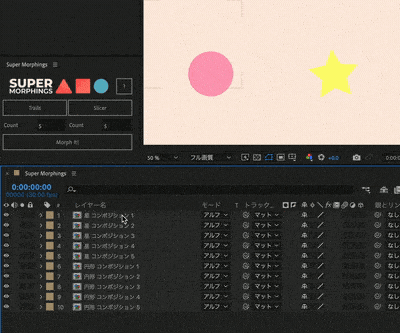
スライスしたレイヤーからスライスしたレイヤーへのモーフィングアニメーションを作る場合には
コンポジション化したレイヤーをスライスする必要があります。
ただしコンポジション化したレイヤーをそのまま『Slicer』でカットすると
コンポジションサイズをそのままスライスするので完成したモーフィングアニメーションがおかしなことになってしまいます。

そこで、レイヤーをコンポジション化した後でコンポジション内のレイヤーに入ってから
関心領域 ▶︎ コンポジションの範囲をオブジェクトギリギリに指定 ▶︎ 上部メニューのコンポジション ▶︎ コンポジションを目標範囲にクロップ
ここまでしてからコンポジションを『Slicer』でカットします。
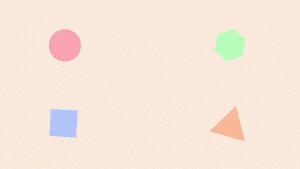
プリコンポーズしたコンポジションサイズをクロップせずにスライスした場合と
クロップしてスライスした場合の比較です⬇︎⬇︎


なるほど!! コンポジション化したレイヤーをそのままスライスすると余白の部分も含めてカットされちゃうんですねd(゚∀゚) これが原因でアニメーションが変になっちゃうわけですね…(ー ー;)
スライスしたいレイヤーのコンポジション化 ▶︎クロップ ▶︎ スライスが終わったら
互いのレイヤーをそれぞれ交互に選択して、Shiftを押しながら『Morph It!』をクリックすると完成です。
『Slicer』でバラバラにスライスして作成されたレイヤーは位置やサイズなど
以下の各プロパティーを調整できるので、色々と調整してみてください。
『Super Morphings』のインストール・アクティベート(アカウント認証)方法
『Super Morphings』を購入してから『After Effects』へインストールする方法とアクティベート(アカウント認証)方法を解説していきます。
『Super Morphings』のインストール方法
【スクリプトファイル(.jsx,.jxsbin)の保存場所】
Windows ▶︎ C: ▶︎ Program Files ▶︎ Adobe ▶︎ Adobe After Effects <AE version> ▶︎ Support Files ▶︎ Scripts ▶︎ ScriptUI Panels
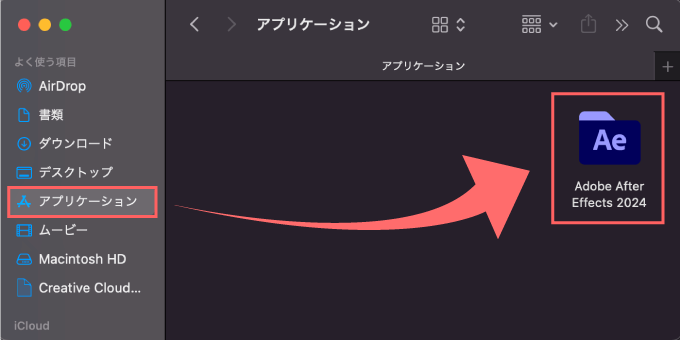
Mac ▶︎ アプリケーション ▶︎ Adobe After Effects <AE version> ▶︎ Scripts ▶︎ ScriptUI Panels
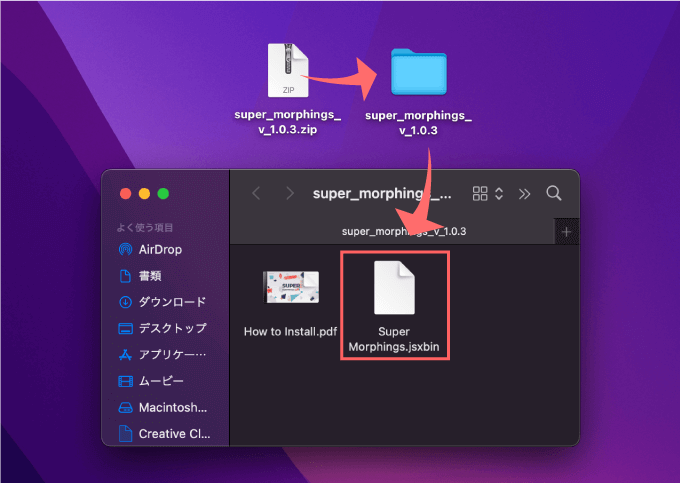
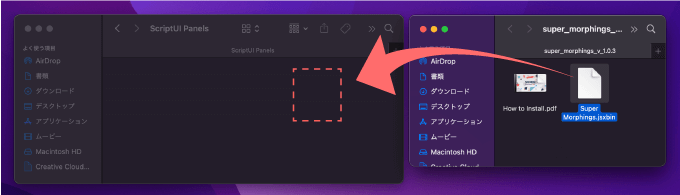
『Super Morphings』を購入後、ダウンロードした.zipファイル『super_morphings_v_1.0.3.zip』をダブルクリックで展開して
表示されたフォルダー内に『Super Morphings.jsxbin』があることを確認します。
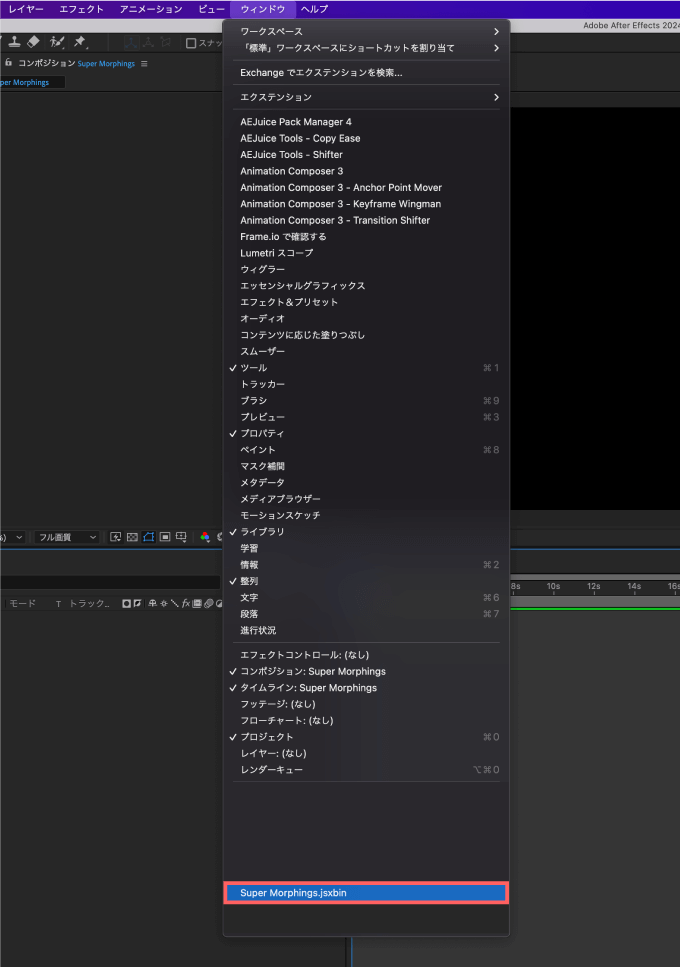
『After Effects』のアプリケーションファイルを開いて
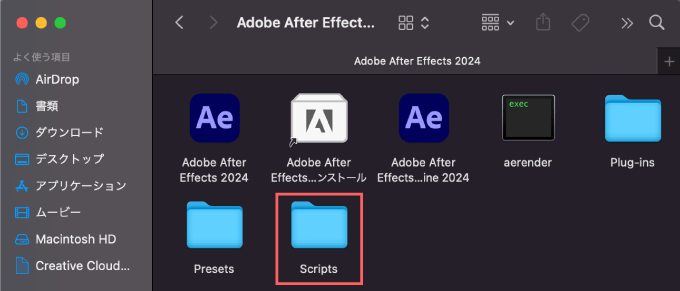
『Scripts』フォルダーを開いて
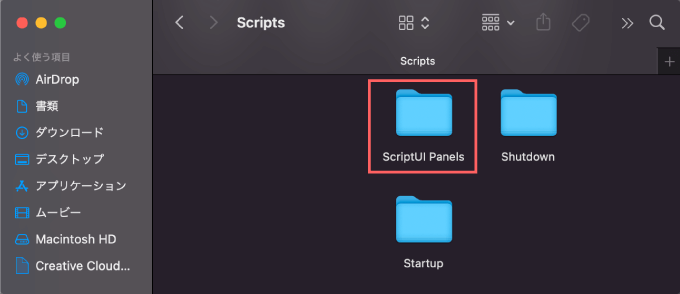
『ScriptUI Panels』フォルダーを開いて
『ScriptUI Panels』フォルダー内にダウンロードしていたスクリプトファイル『Super Morphings.jsxbin』をコピペ、またはドラッグ&ドロップして下さい。
『After Effects』を開いて
上部メニューのウィンドウメニュー内に『Super Morphings.jsxbin』が追加されているので使うことができます。
『Super Morphings』のアクティベート(アカウント認証)する方法
インストールした『Super Morphings』をアクティベート(アカウント認証)して使えるようにするまでの流れを解説します。
『Super Morphings』を開いたらライセンスコードを入力するパネルが表示されます。
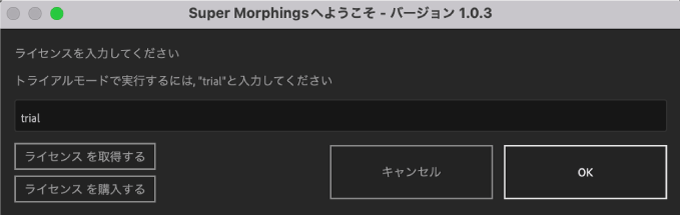
ライセンスコードは『Super Morphings』を購入したページからコピーしてください。
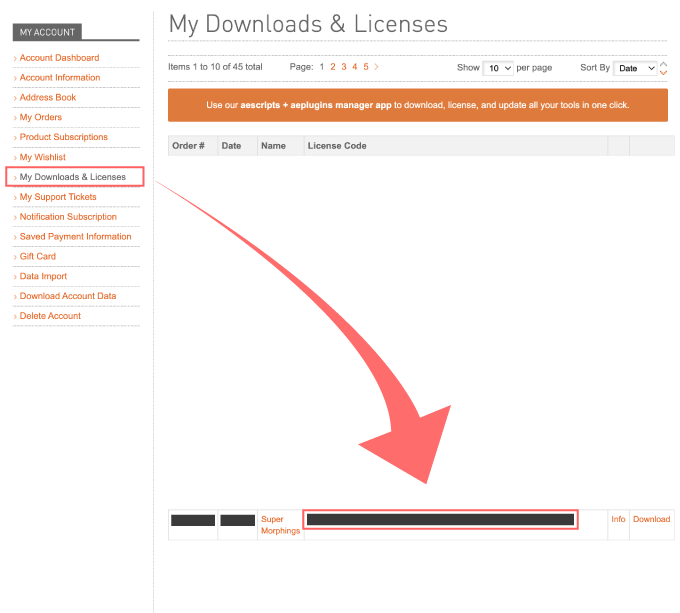
『aescripts+aeplugins』『フラッシュバックジャパン』『Toolfarm』で購入した場合は
最終的に『aescripts+aeplugins』の『My Download & Licenses』のページにライセンスコードが記載してあります。
コピーしたライセンスコードをペーストして『OK』をクリックします。
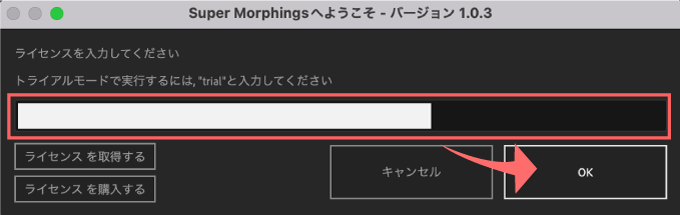
アクティベートが完了して『Super Morphings』を使うことができます。
最後に
今回紹介した『Super Morphings』以外にも『After Effects』で使える便利な無料プラグインや無料スクリプトはたくさんあります。
『After Effects』で使える無料ツールは以下の記事にまとめているので、興味のある方はぜひ読んでみてください⬇︎⬇︎
*『After Effects』で使えるおすすめの有料プラグインやスクリプトをまとめた記事はこちら⬇︎⬇︎
以上、最後まで読んでいただきありがとうございました(=゚ω゚)ノ