
Adobe Photoshop 21
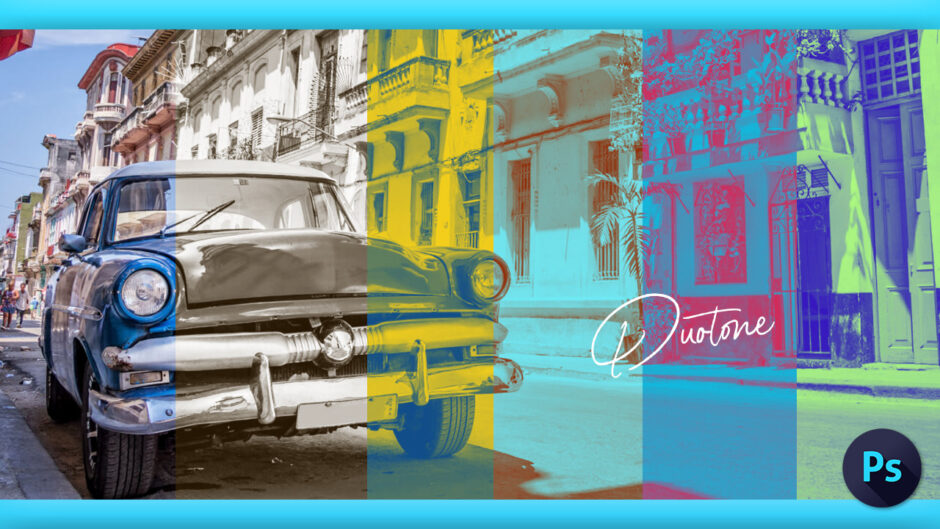
今回は無料配布されているたアクション素材『Duotone』を使って、スタイリッシュなデュオトーン画像を簡単に作る方法を解説します。
『アクション素材』を使えば、簡単にプロ並みの編集加工を加えることができます。
もの凄く簡単で便利な機能なので、ぜひ一度使ってみてください!!
*『アクション機能』や『アクション素材』について解説した記事はこちら⬇︎⬇︎

無料で配布されている『アクション素材(Duotone)』を使えば
以下⬇︎⬇︎のようなディオトーン画像へ簡単に加工することができます。


アクション素材『Duotone』を使った画像編集方法
アクション素材『Duotone』のダウンロードから使用方法まで順を追って解説していきます。
英語版への切り替えは簡単にできます。
*『Photoshop』を英語版へ切り替える方法はこちら⬇︎⬇︎
アクション素材『Duotone』のダウンロード方法
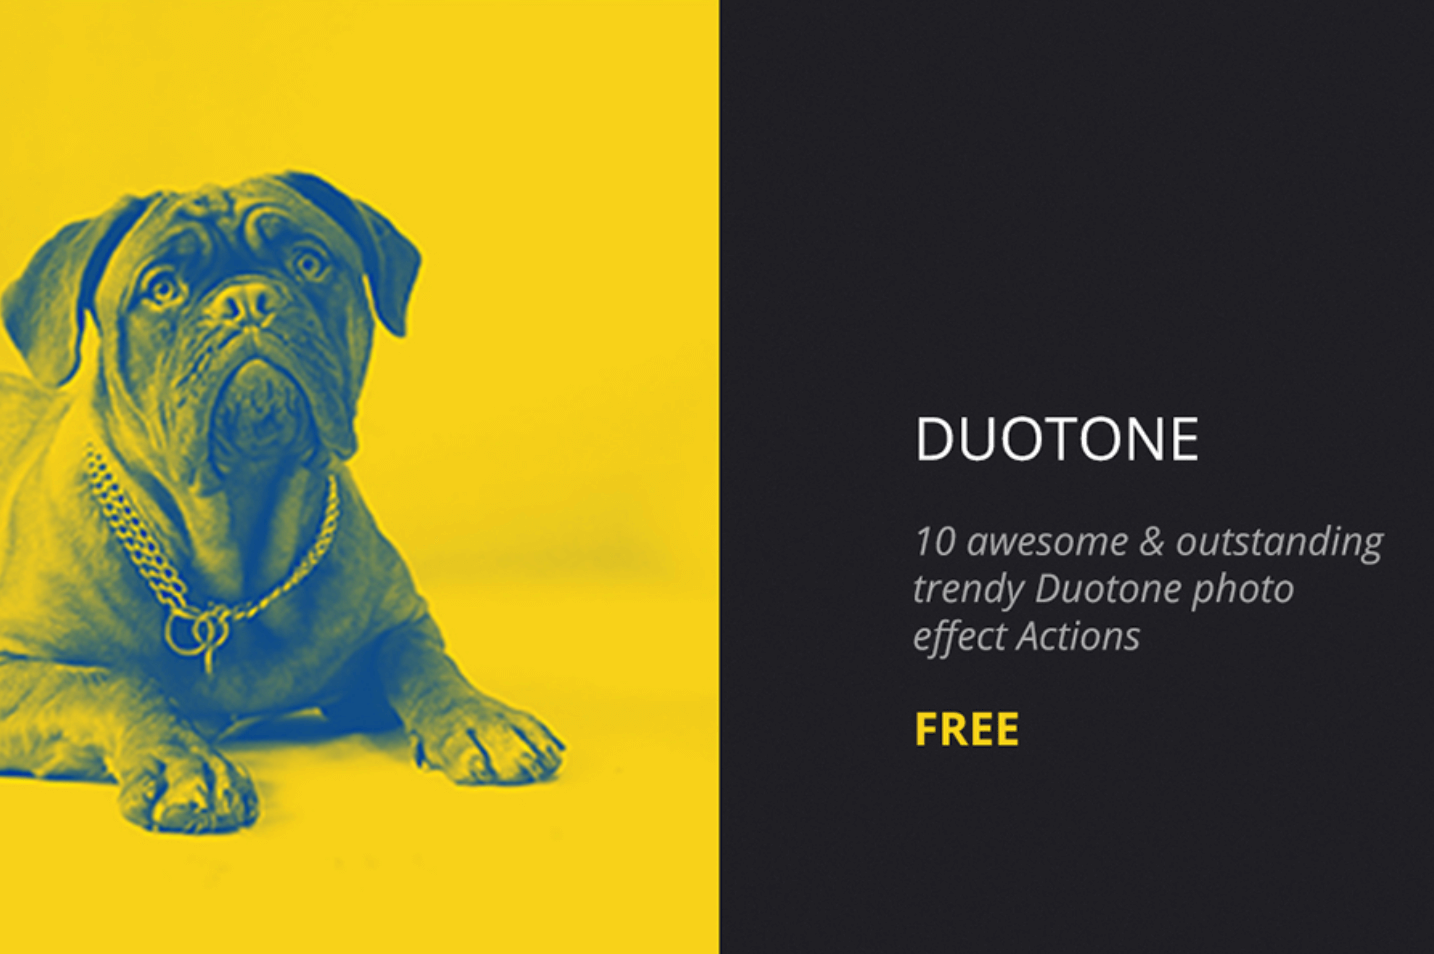
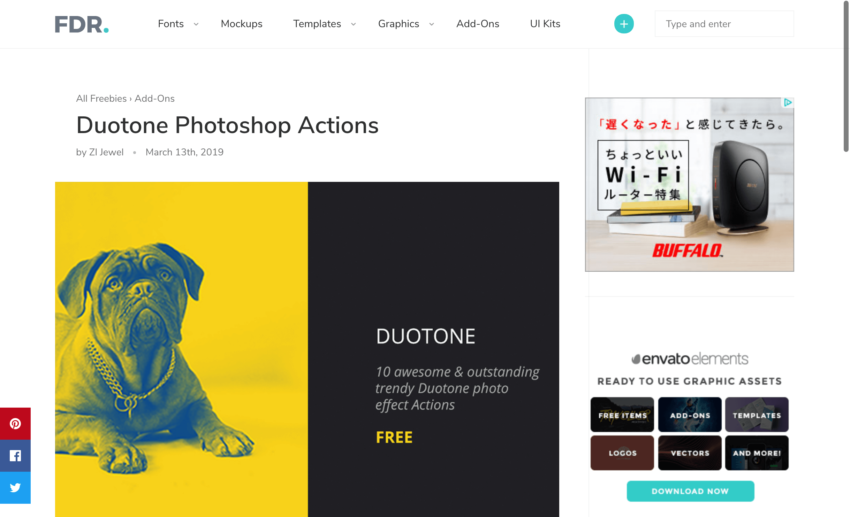
『Duotone』の無料配布サイトへ入ります。
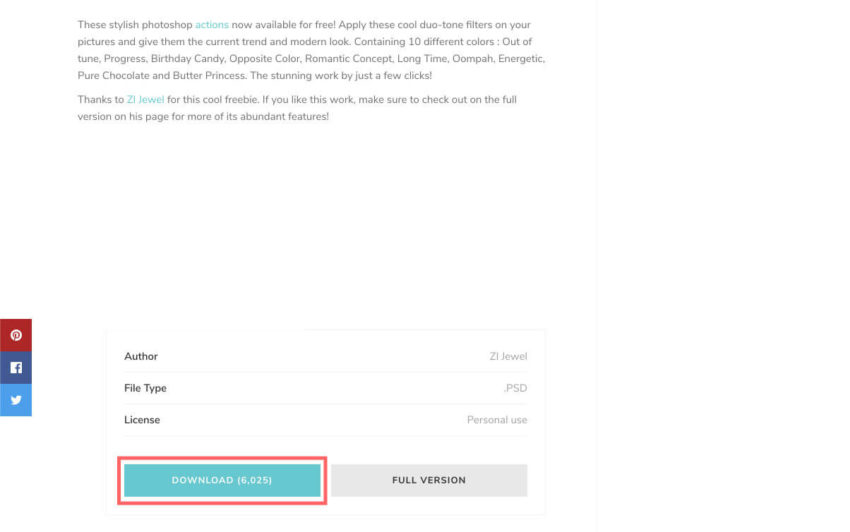
下にスクロールしていくと『DOWNLOAD』ボタンがあるのでクリックします。
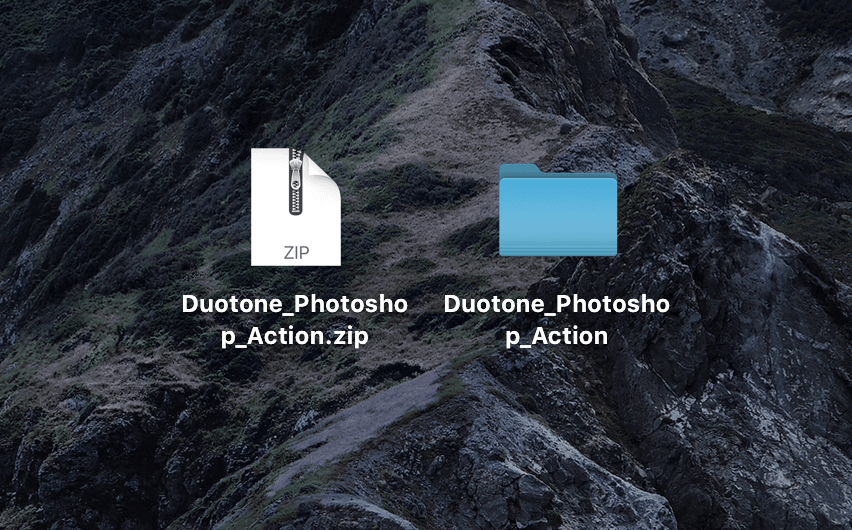
『Duotone_Photoshop_Action.zip』がダウンロードされるので展開して
『Duotone_Photoshop_Action』フォルダを表示させておきます。
『Duotone』をインストールする方法と使い方
『Photoshop』を開いて、アクション素材を適用したい素材を読み込みます。
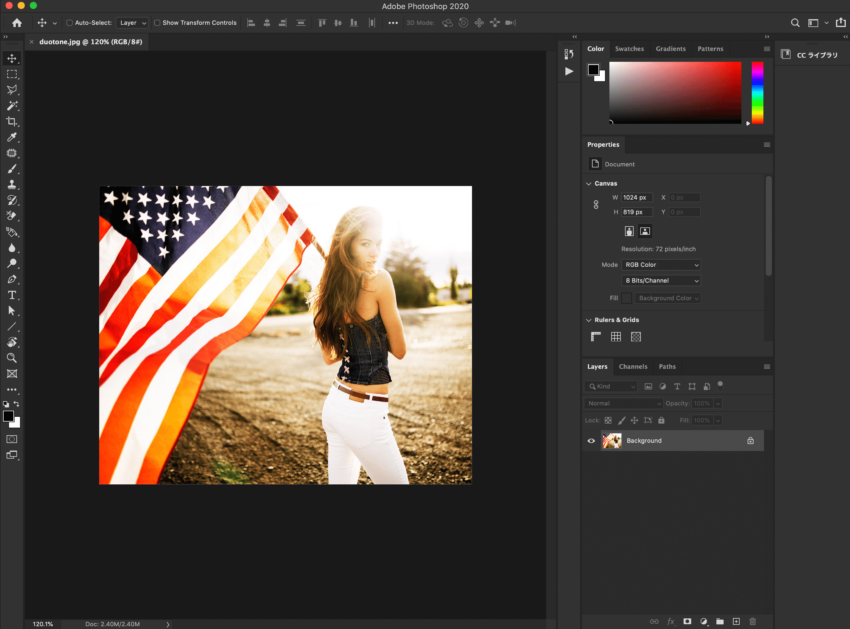
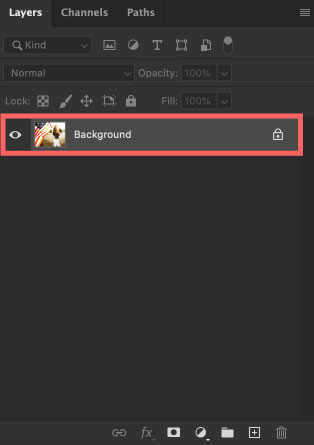
読み込んだ素材のレイヤー名が『Background』の背景レイヤーで鍵マークが表示されていることを確認してください。
もしレイヤー名(Background)が一字でも違っていたり、背景レイヤーとして鍵マークがついていなければ、アクションを実行する際にエラーを起こしてしまいます。
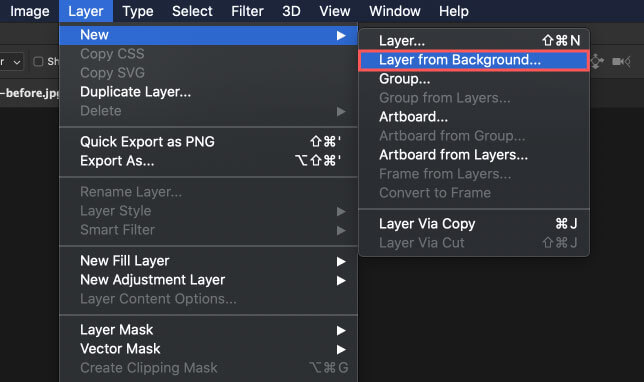
もしレイヤー名が『Background』ではなかったり、背景レイヤーとして鍵マークが表示されていない場合には
レイヤーを選択した状態で上部メニューのLayer ▶︎ New ▶︎ Background from Layer を選択して背景レイヤーに変更しておいてください。
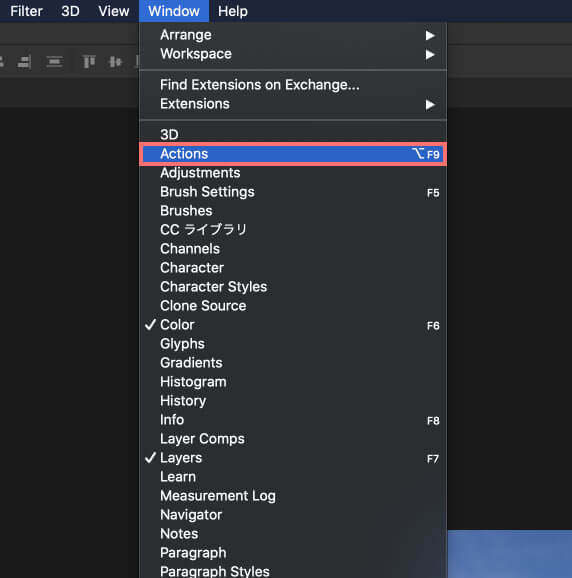
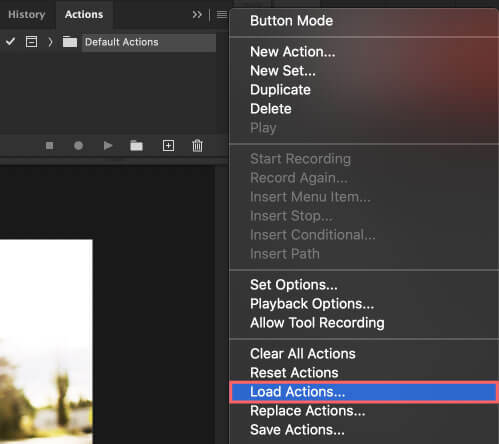
上部メニューのWindow ▶︎ Actionを選択してアクション操作パネルを表示させます。
アクション操作パネルの右上のメニューボタンをクリックします。
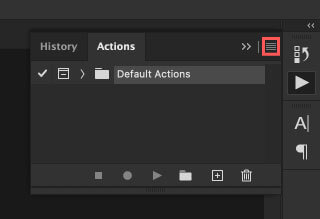
表示されたメニューから『Load Actions』を選択します。
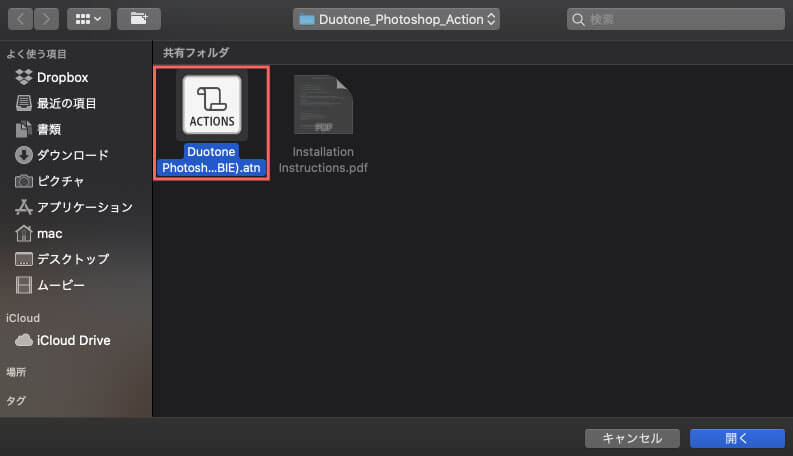
ダウンロードしておいた『Duotone_Photoshop_Action』フォルダ内にある『Duotone Photoshop Action (FREEBIE).atn』を選択し、開くをクリックします。
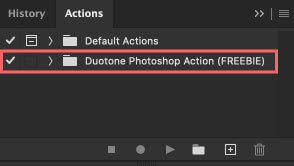
アクションに『Duotone Photoshop Action (FREEBIE)』が追加されました。
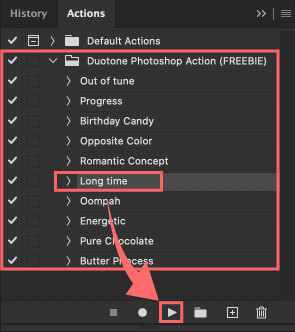
『Duotone Photoshop Action (FREEBIE)』を開くと、10種類のデュオトーンが適用できるアクションがそれぞれ用意されています。
今回は『Long time』を使うので選択した状態で、パネル下のスタートボタン『▶️』を押してアクションを適用します。
これでアクション素材『Duotone』の『Long time』が適用されました。
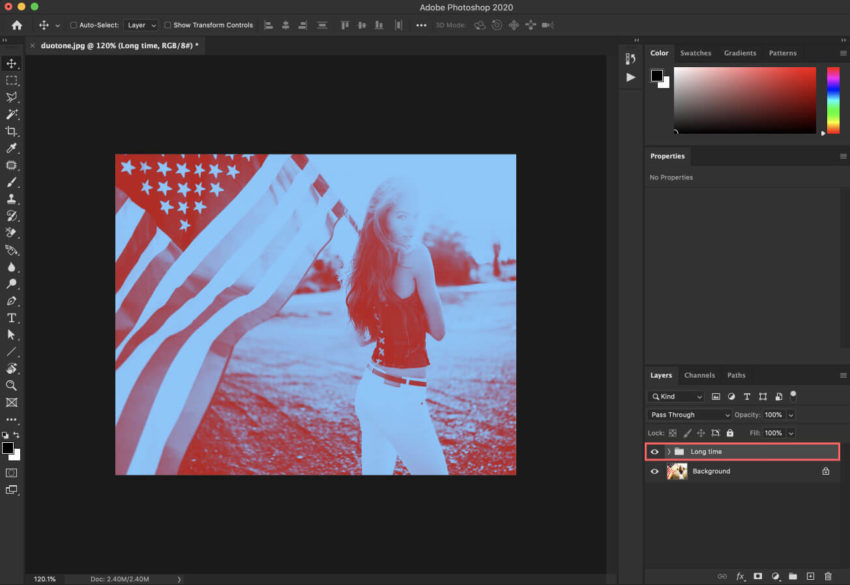
レイヤーパネルに表示された『Long time』フォルダを開くと、設定プロパティのレイヤーがそれぞれ入っているので選択して、プロパティ設定パネルで値を微調整することができます。

これでデュオトーン画像を作ることができました。

残り9種類のデュオトーンを適用した場合はこんな感じ⬇︎⬇︎です。


最後に
今回紹介したアクション素材『Duotone』以外にも
ネット上には無料で使えるアクション素材(.atn)がたくさんあります。
*無料配布されているアクション素材(.atn)を各カテゴリー別に分けてまとめた記事はこちら⬇︎⬇︎

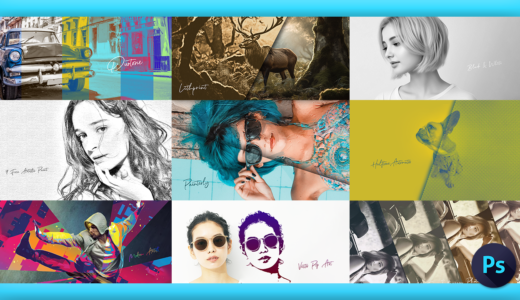
*おすすめの無料アクション素材(.atn)10選はこちら⬇︎⬇︎
アクション素材(.atn)以外にも『Adobe Photoshop(フォトショップ)』で使える無料素材はたくさんあります。
デザイン制作やサムネイル作りにかなり重宝しますので、ご存知ない方はぜひ使ってみてください\( ̄∀ ̄)/
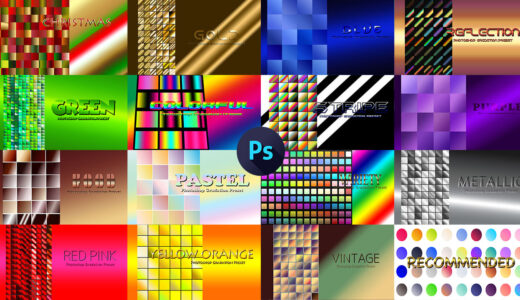
*グラデーション(.grd)の使い方や無料素材をまとめた記事はこちら⬇︎⬇︎
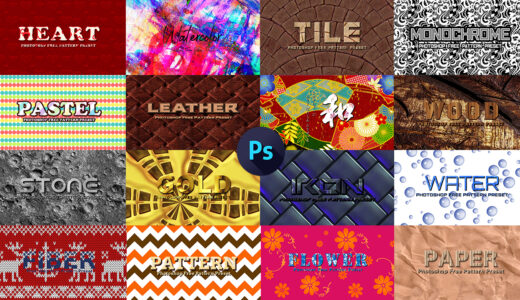
*パターン素材(.pat)の使い方や無料素材をまとめた記事はこちら⬇︎⬇︎
*ブラシプリセットファイル(.abr)の使い方や無料素材をまとめた記事はこちら⬇︎⬇︎

*レイヤースタイル(.asl)の使い方や無料素材をまとめた記事はこちら⬇︎⬇︎
*オーバーレイテクスチャー素材(.jpg、.png)の使い方や無料素材をまとめた記事はこちら⬇︎⬇︎

*テキストエフェクト素材(.psd)の使い方や無料素材をまとめた記事はこちら⬇︎⬇︎
以上、最後まで読んでいただきありがとうございました♪( ´θ`)ノ
『Adobe CC コンプリートプラン』が Adobe正規価格の半額【 39,980 円 / 年(税込)】で購入できる方法や
価格、各種サービス内容など徹底的に比較解説した記事を書いてます^^
*『Adobe CC』の契約更新が近い方はぜひ参考にして下さい⬇︎⬇︎