
Adobe After Effects 26
『Video Copilot社』の無料プラグイン『Saber』は
『After Effects』を使用するクリエーターにもはや知らない人はいないくらい、欠かせない神プラグインになっています。
『Saber』はとても優秀な無料プラグインですが
機能がありすぎて難しく感じてしまう初心者の方も多いのではないでしょうか!?
今回はそんな『Saber』の基本的な使い方を
『After Effects』初心者向けにわかりやすく解説をしていきたいと思います。
*『Saber』のダウンロード・インストールについて解説した記事はこちら⬇︎⬇︎

目次
『Saber』の使い方解説
『Saber』の基本的な機能から順を追って簡単に解説をしていきます。
この記事を読み終わる頃にはきっとある程度『Saber』使いこなせるようになっているはずです\( ̄∀ ̄)/
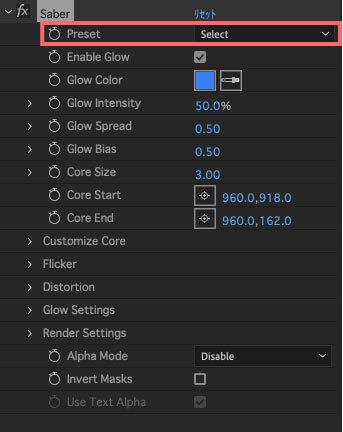
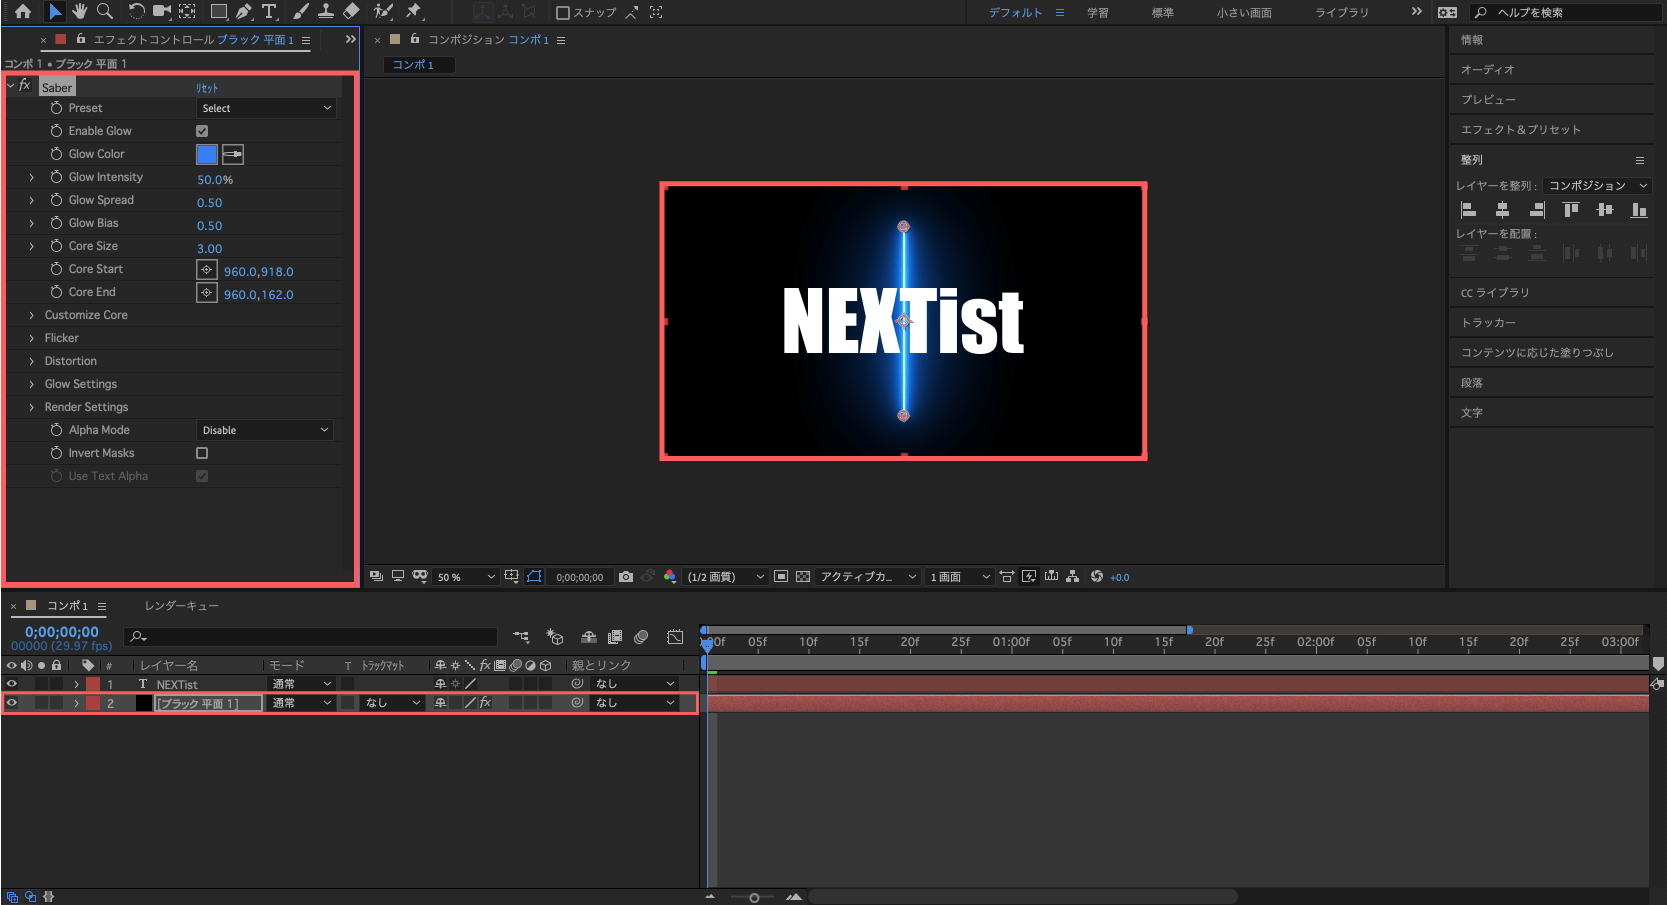
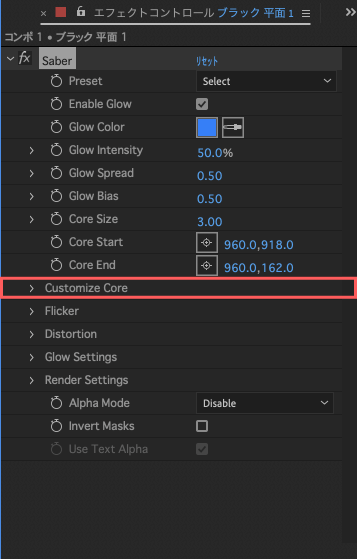
『Saber』のエフェクトコントロールパネル
『Saber』のエフェクトコントロールパネルは複数の項目が英語で並んでいるので
初めて見る方は訳がわからないと思います。

ここでは、エフェクトコントロールパネルに表示されている項目(プロパティー)を1つ1つ解説していきます。
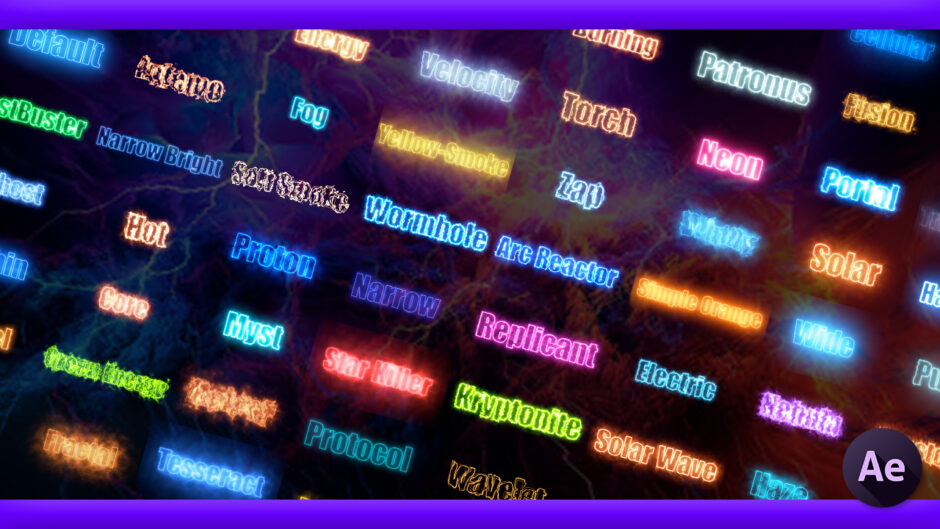
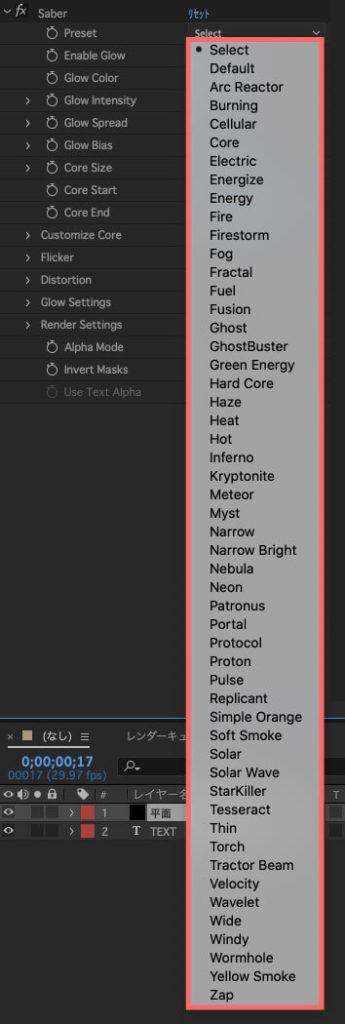
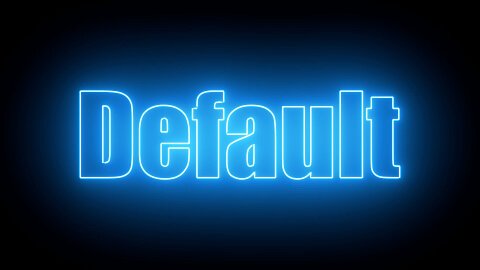
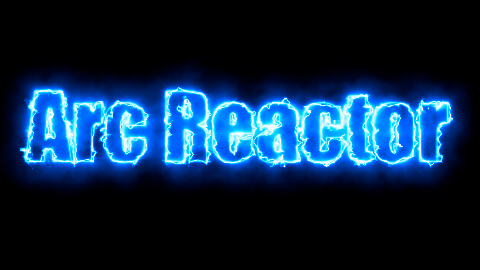
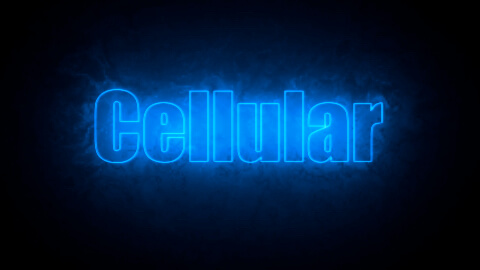
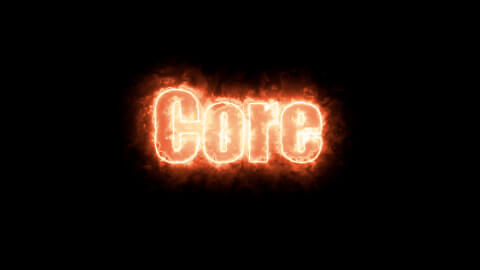
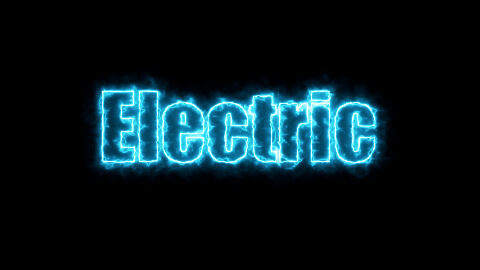
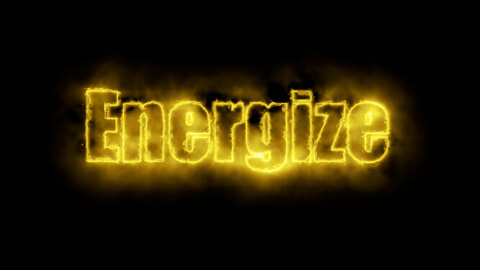
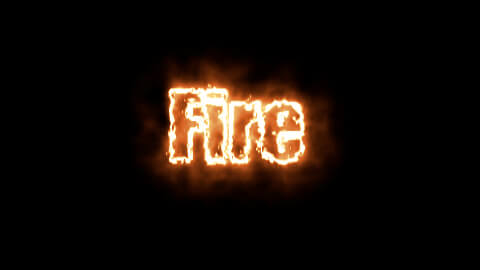
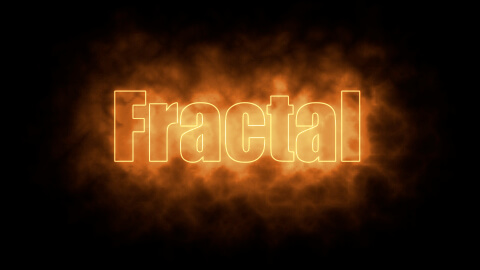
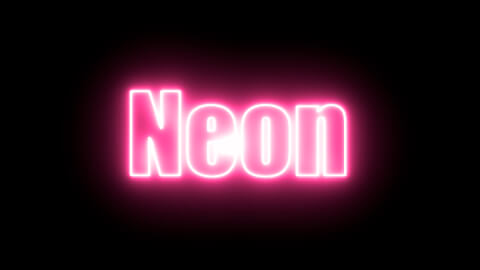
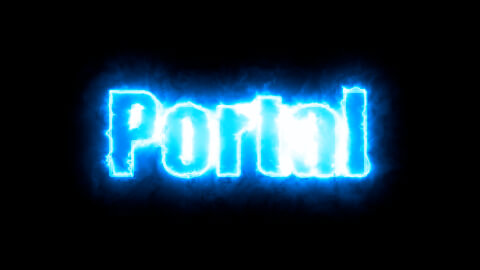
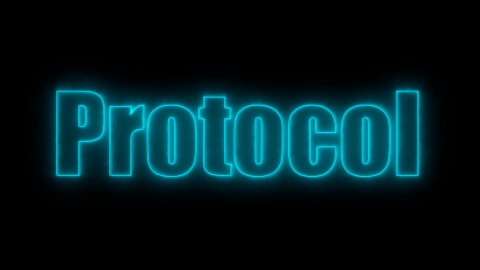
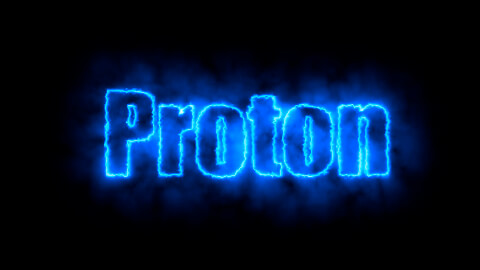
『Saber』には51種類のエフェクトプリセットが用意されています。


『Customize Core』を調整することで、テキストレイヤーやマスクに沿って『Saber』のエフェクトを適用することができます。
テキストレイヤーやマスクに『Saber』の光り輝くエフェクトをかける方法を『Customize Core』を設定しながら解説していきます。
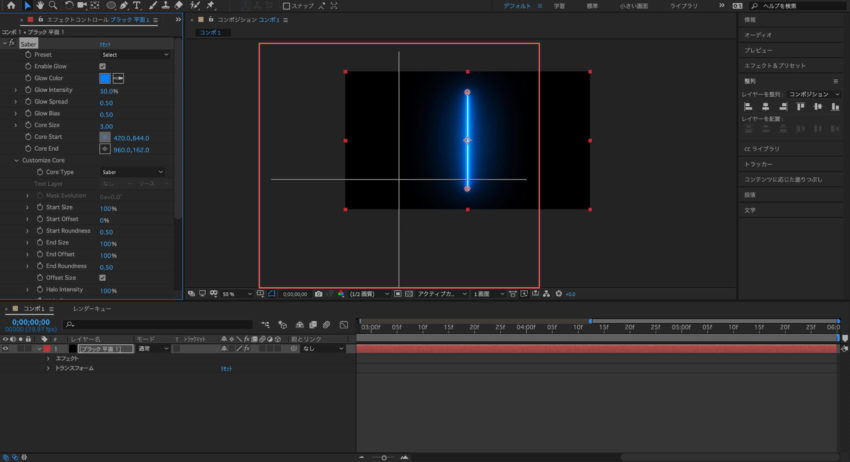
まず平面レイヤー(背景ブラック)とテキストレイヤーを作成します。
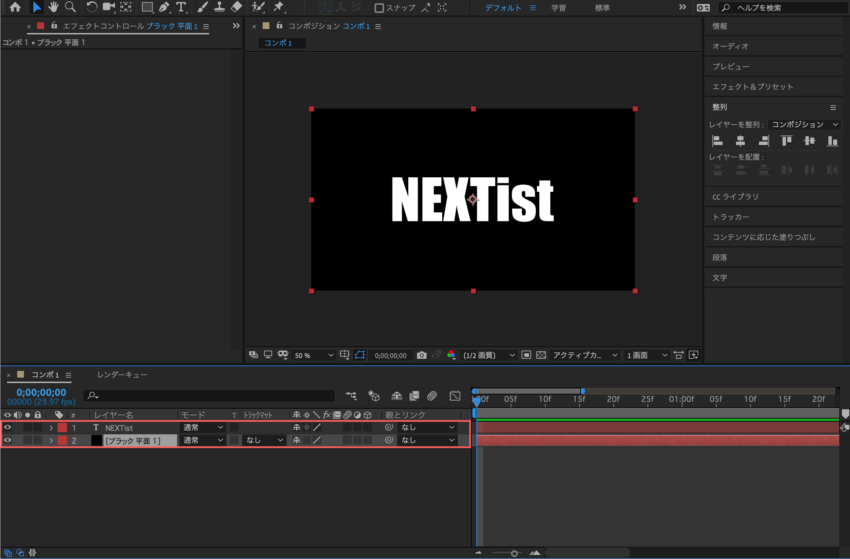
平面レイヤーにエフェクト ▶︎ Video Copilot ▶︎ Saberを適用します。

『Saber』を適用するとエフェクトコントロールパネルに『Saber』のメニューが表示され
プレビューの真ん中に青い蛍光灯のようなものが表示されます。
ここでエフェクトパネルにある『Customize Core』を調整します。
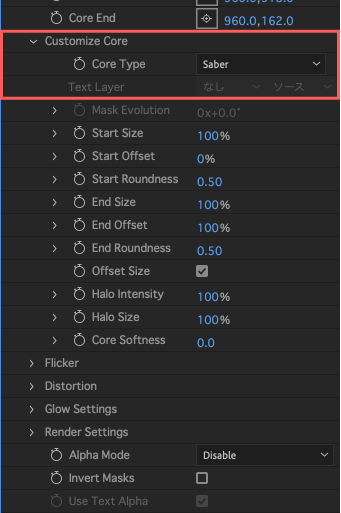
『Customize Core』のプルダウン『>』を選択します。
『Core Type』はデフォルトで『Saber』になってます。
『Saber』右のプルダウン『⋁』をクリックします。
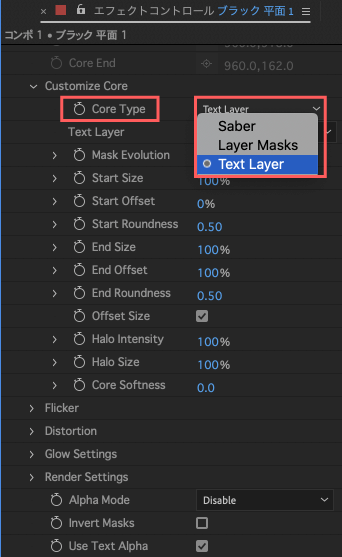
今回はテキストレイヤーに『Saber』のエフェクトをかけていきたいので
『Text Layer』を選択します。
次に『Text Layer』右側のプルダウン『⋁』をクリックして
エフェクトをかけたいテキストのレイヤーを選択します
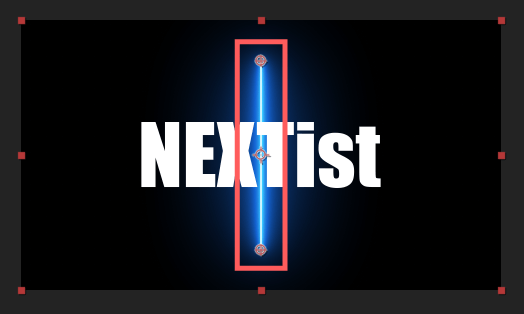
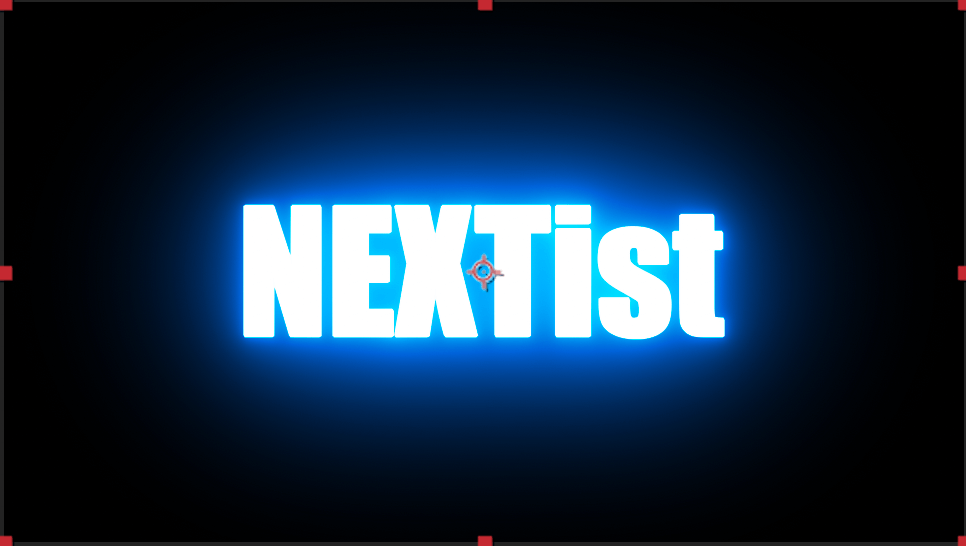
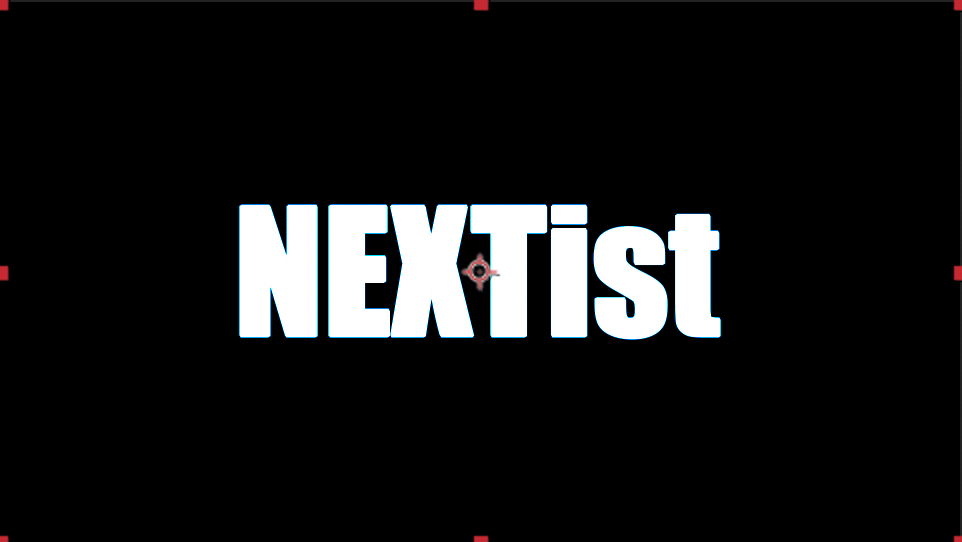
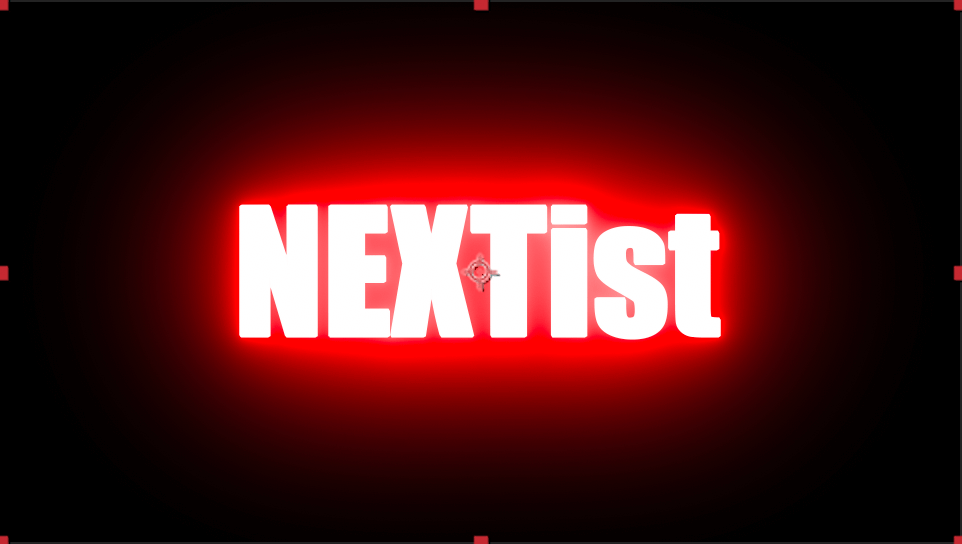
今回は『NEXTist』と入力したテキストレイヤーを選択します。
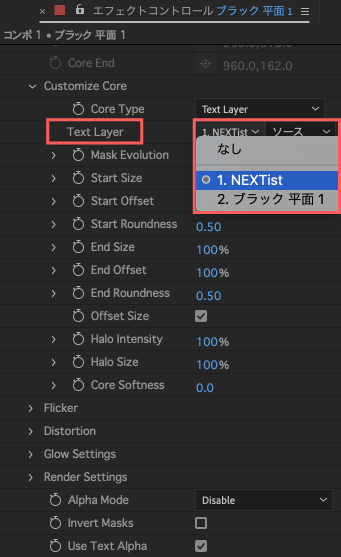
すると、以下のように表示されます⬇︎⬇︎
他のプロパティーを調整することで光った文字を作ることができます。

テキストではなくマスクに『Saber』を適用することも可能です。
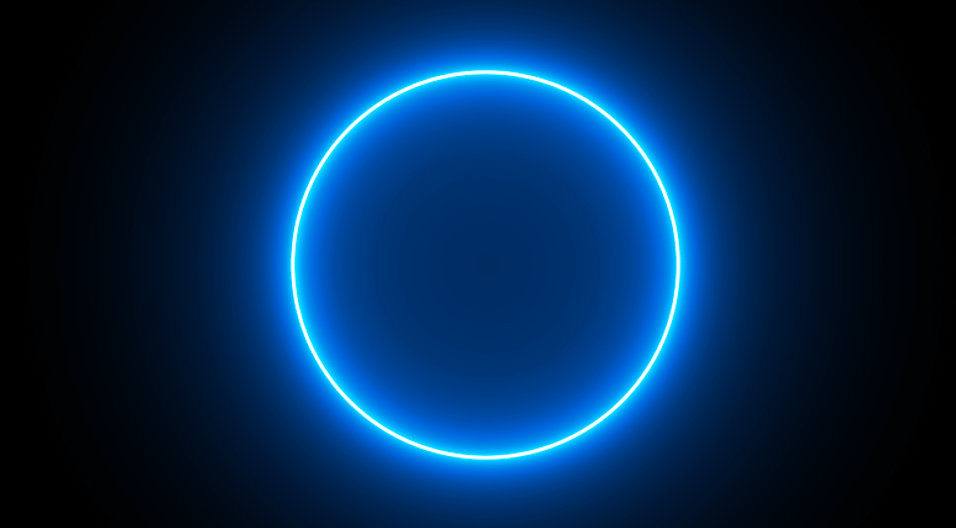
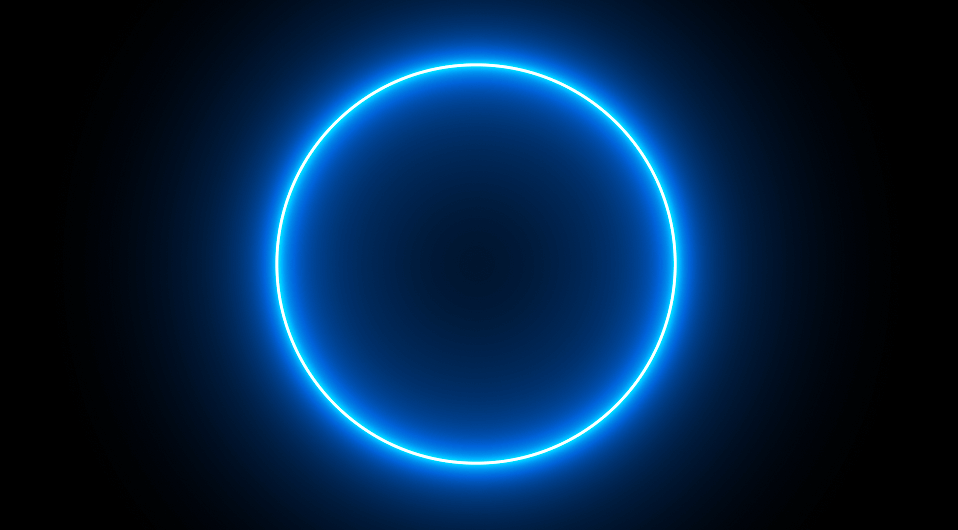
平面レイヤーに楕円形ツールでマスクを作成し、『Saber』を適用します。
すると、先程と同じように真ん中に青い蛍光灯のような棒が出現します。

ここでテキストに適用した場合と同じ要領で
『Customize Core』の『Core Type』から『Layer Masks』を選択します。
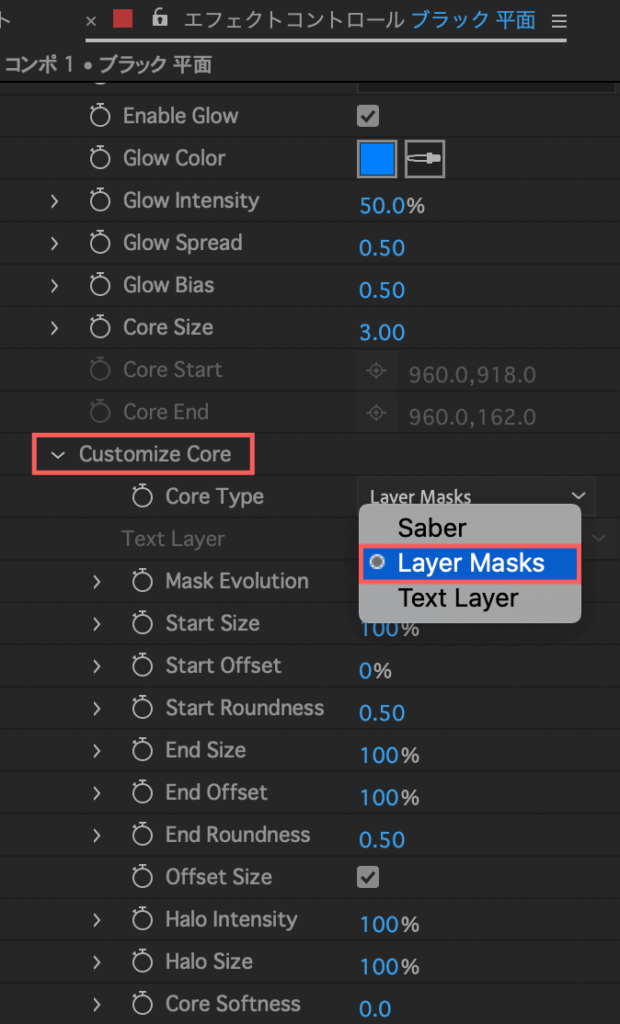
レイヤーマスクに沿って『Saber』エフェクトが適用されます。
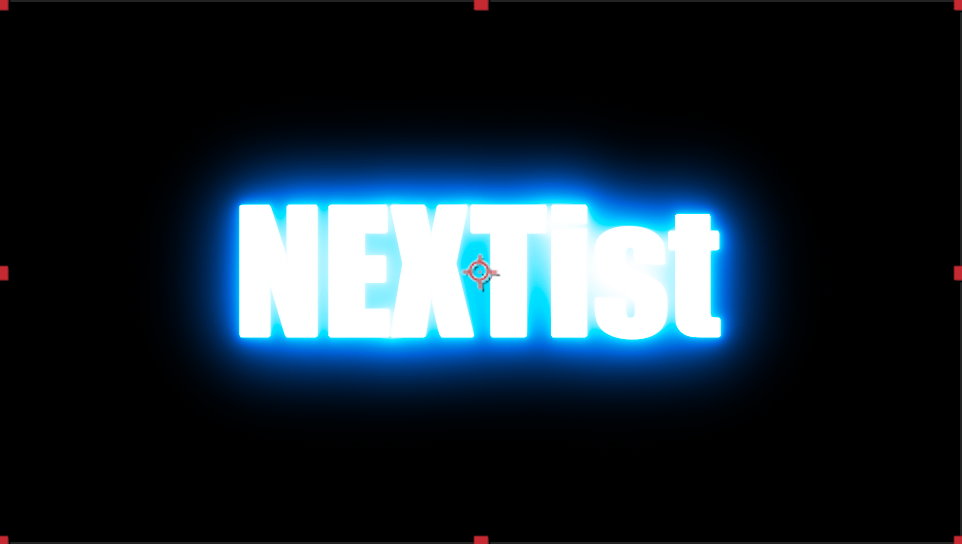
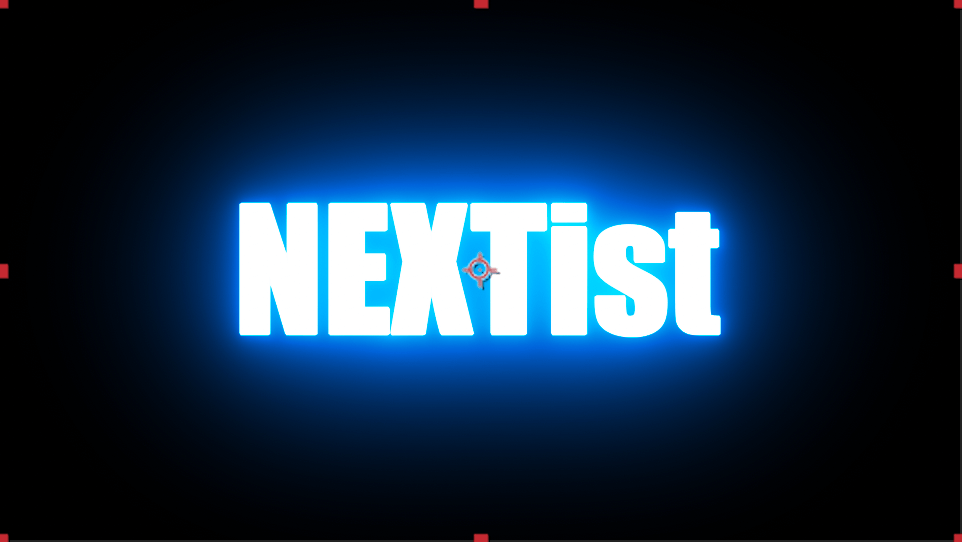
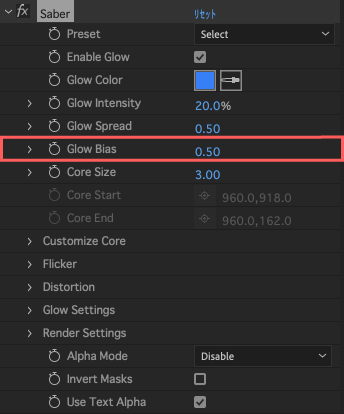
『Glow Intensity』でグローの強度を調整することができます。
先ほどテキストに『Saber』を適用しただけの段階ではグローが強すぎて文字が見えないので
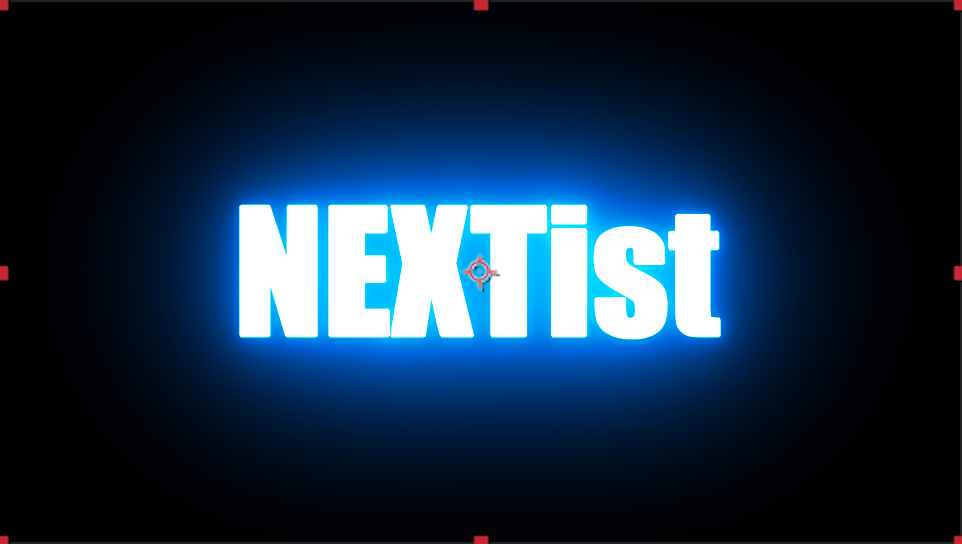
デフォルトで50%に設定をされている『Glow Intensity』を20%に落としてみます。
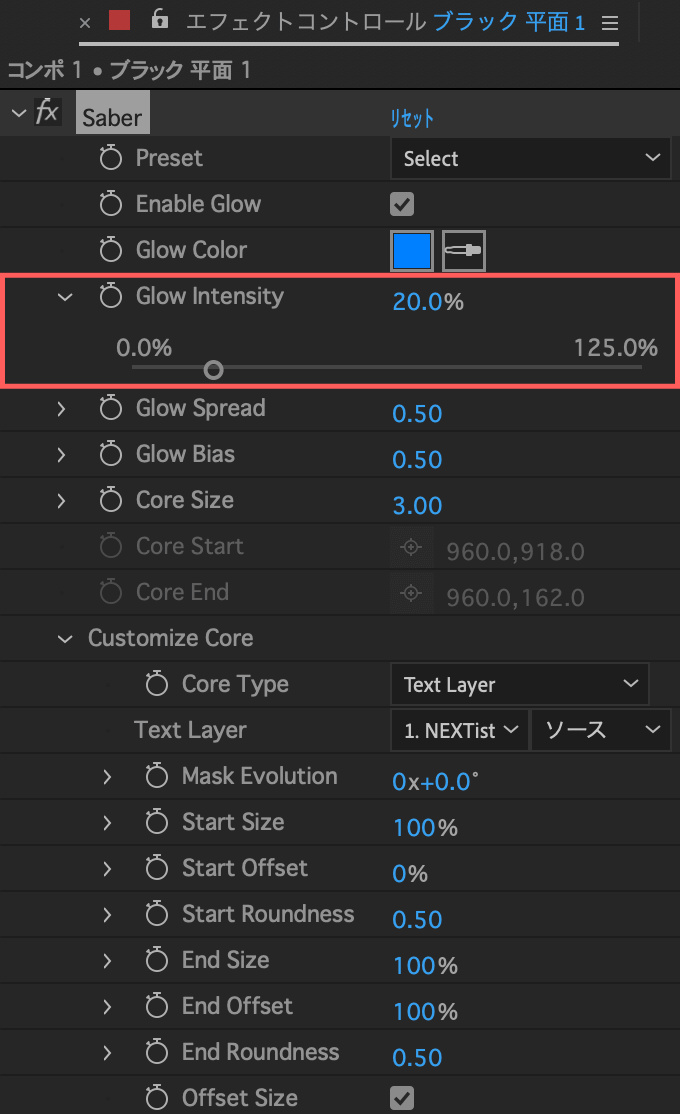
するとGlowの強度が抑えられ、文字が見えるようになります。
光加減はお好みで調整してください。
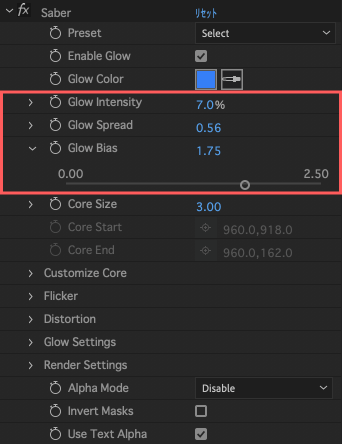
『Glow Spread』はグローの広がりを調整することができます。
デフォルトでは0.50となっています。
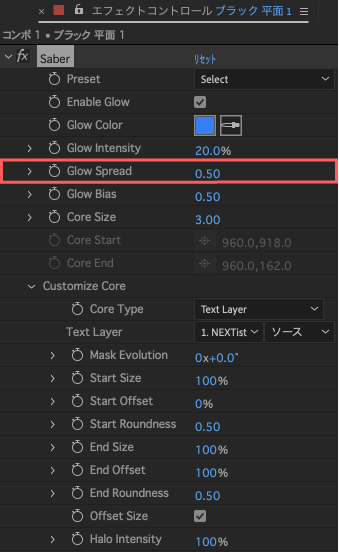
『Glow Spread』の値を小さくすると光の広がり範囲が狭まり
値を大きくすると光が広がります。

『Enable Glow』はグロー効果を有効にするか無効にするか選択できます。
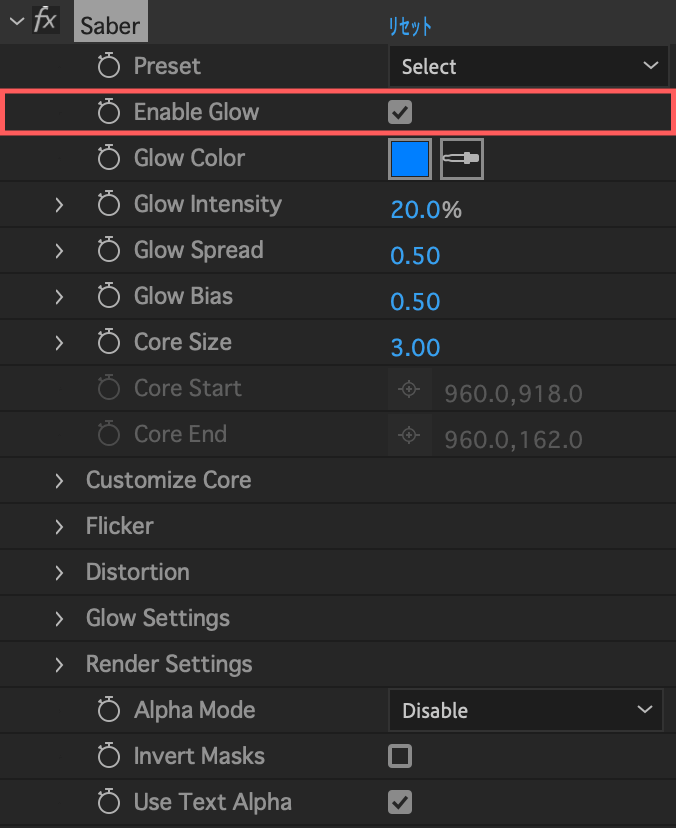
『Enable Glow』にキーフレームをセットすることで、グロー効果のONとOFFを
狙ったタイミングで切り替えることが可能です。
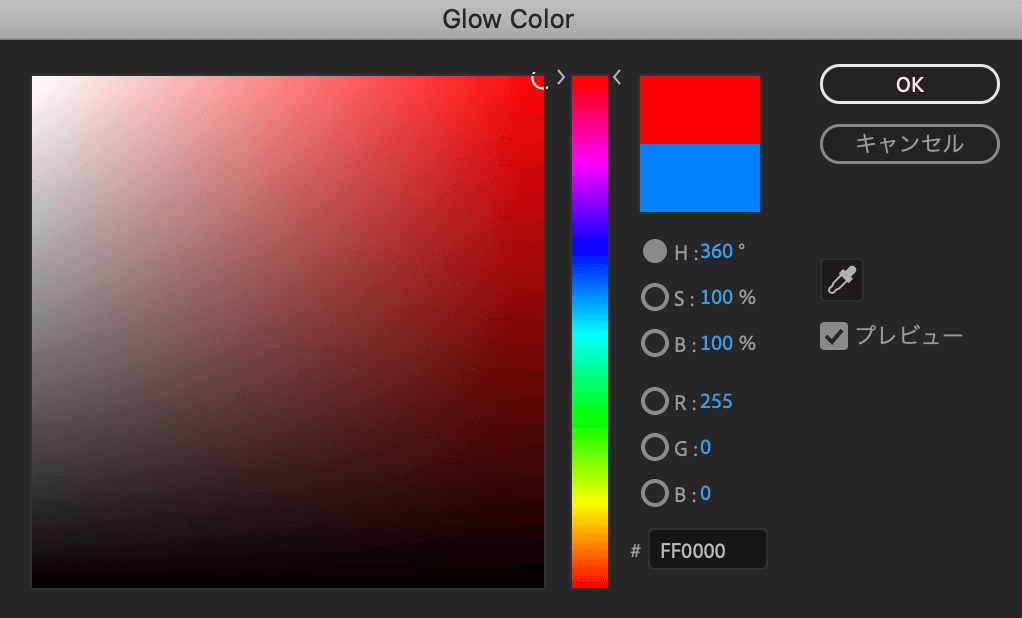
その名の通りグローのカラーを調整することができます。
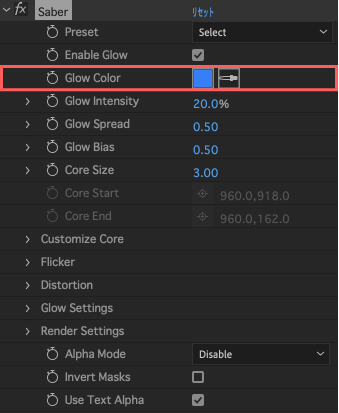
『Glow Color』右側のカラーピッカーを選択して、グローのカラーを調整します。

『Glow Bias』はグロー効果をかさ増しするという表現が一番近いかもしれませんが
これはあくまで『Glow Intensity(グローの強度)』あってこそのものなので
『Glow Intensity』だけの調整でも十分です。
ただし『Glow Intensity』と『Glow Spread』だけでの光の調整には限界があります。
そこで、合わせて『Glow Bias』の値を調整することでより細かいグローの調整ができます。
グロー効果をより輝かせながら、周囲に光を拡散したい時に『Glow Intensity』や『Glow Spread』と同時に『Glow Bias』の値も調整をします。

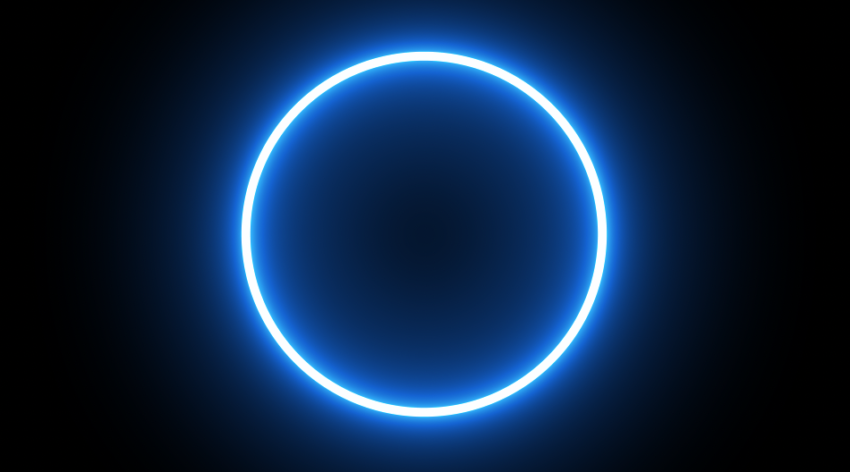
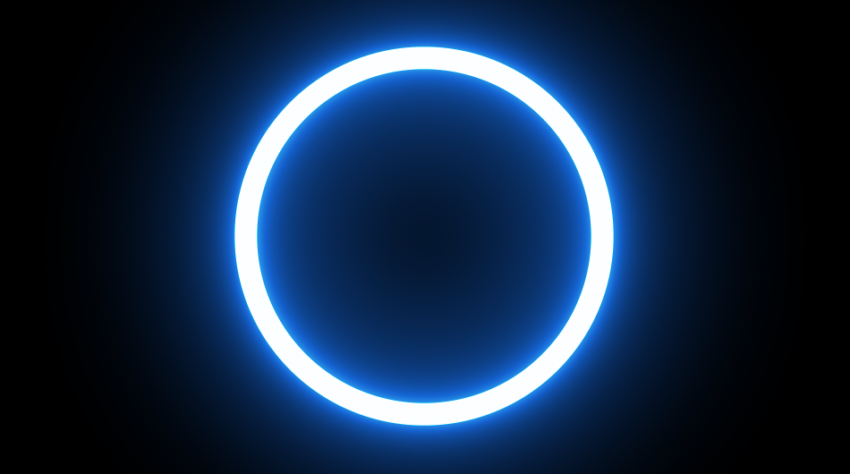
『Core Size』を調整することで、光の芯のサイズを変更することができます。
楕円形レイヤーマスクに『Saber』を適用した例で見るとわかりやすいかと思います。
『Core Size』の初期設定は3.00です。
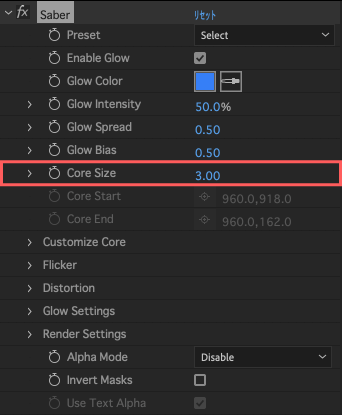
『Core Size』の値を大きくすることで、光の芯が太くなっているのがわかるかと思います。
この項目は『Customize Core』の『Core Type』が『Saber』でないと調整できません。
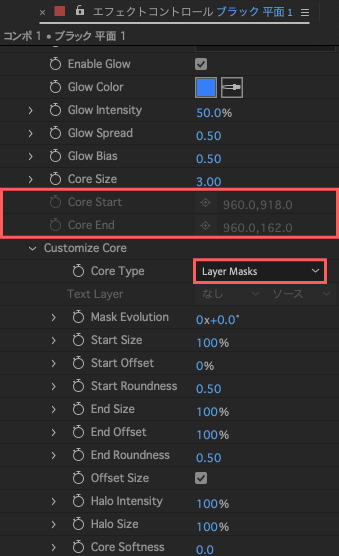
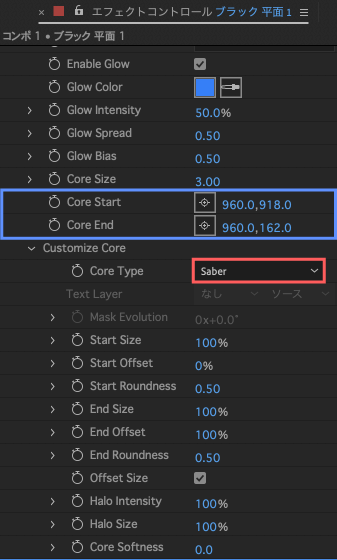
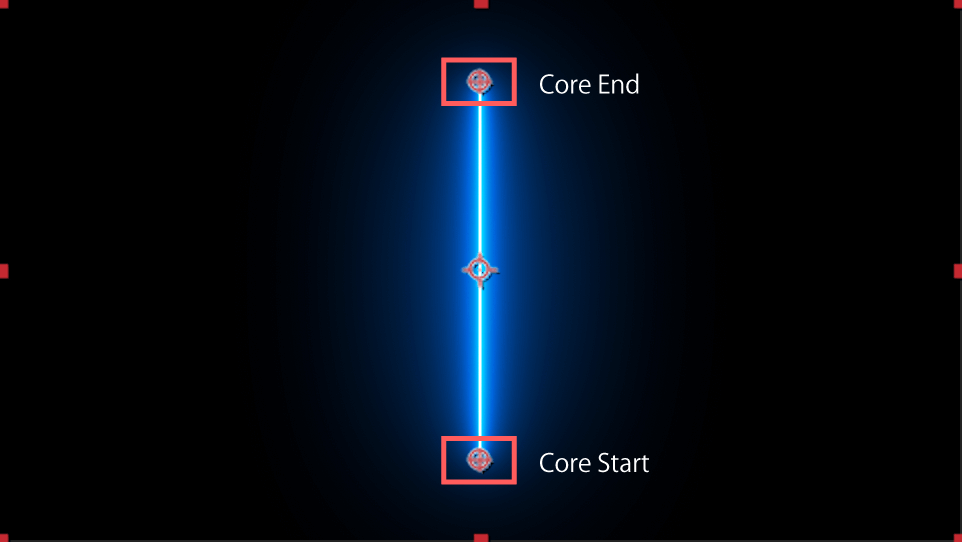
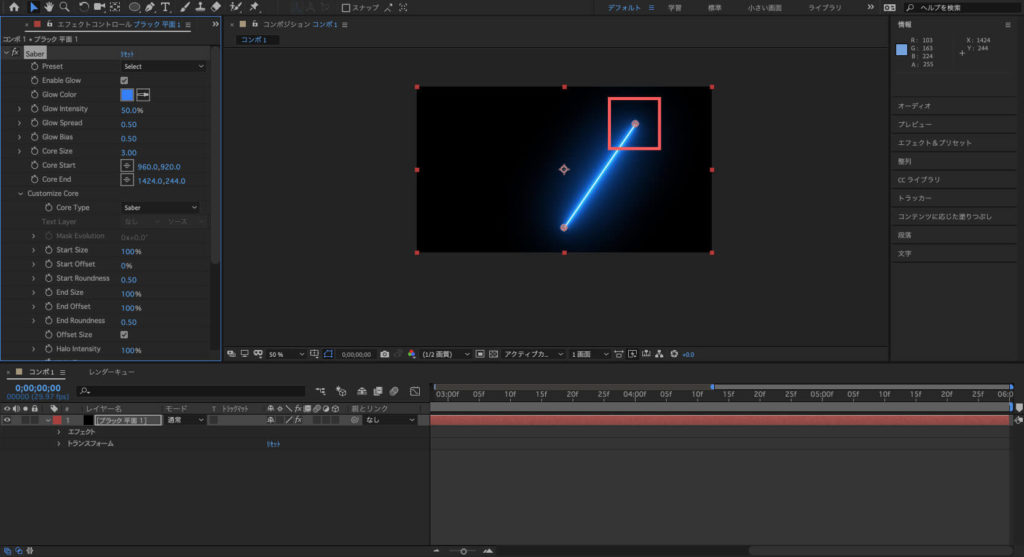
『Core Type』を『Saber』にするとプレビューの中心に蛍光の棒がありますが
その上下にアンカーポイントのようなものが2つ出現します。
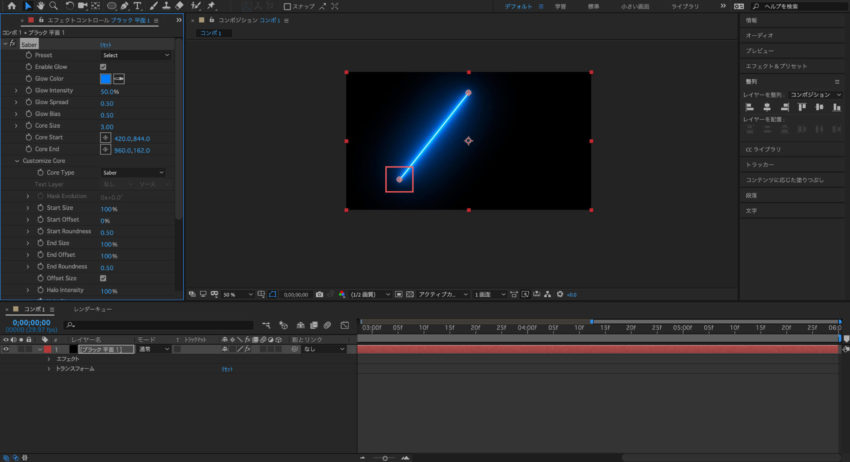
この上下のポイントがそれぞれ 『Core Start』と『Core End』として、ポイントの位置を調整することができます。
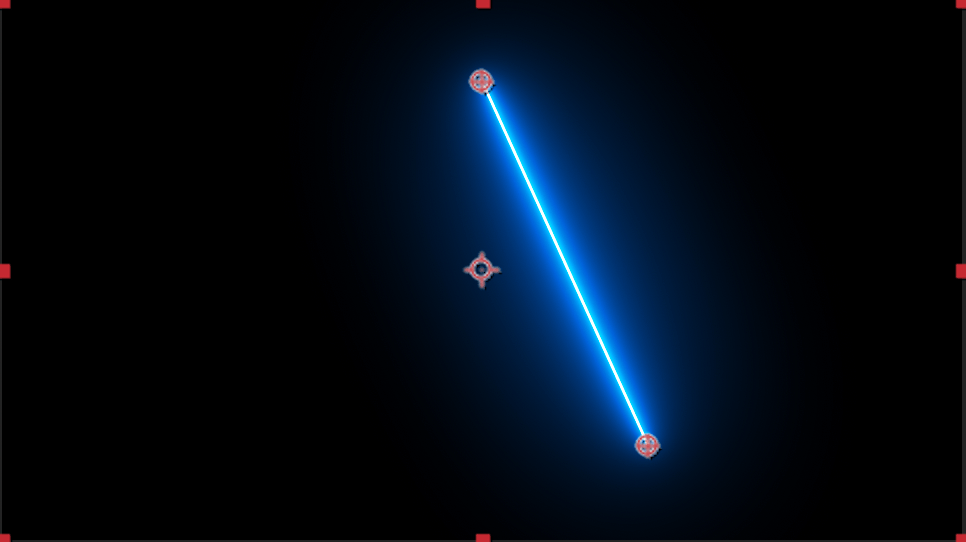
プレビュー上のポイントをドラッグすることで簡単に『Core Start』と『Core End』の位置を動かすことができます。
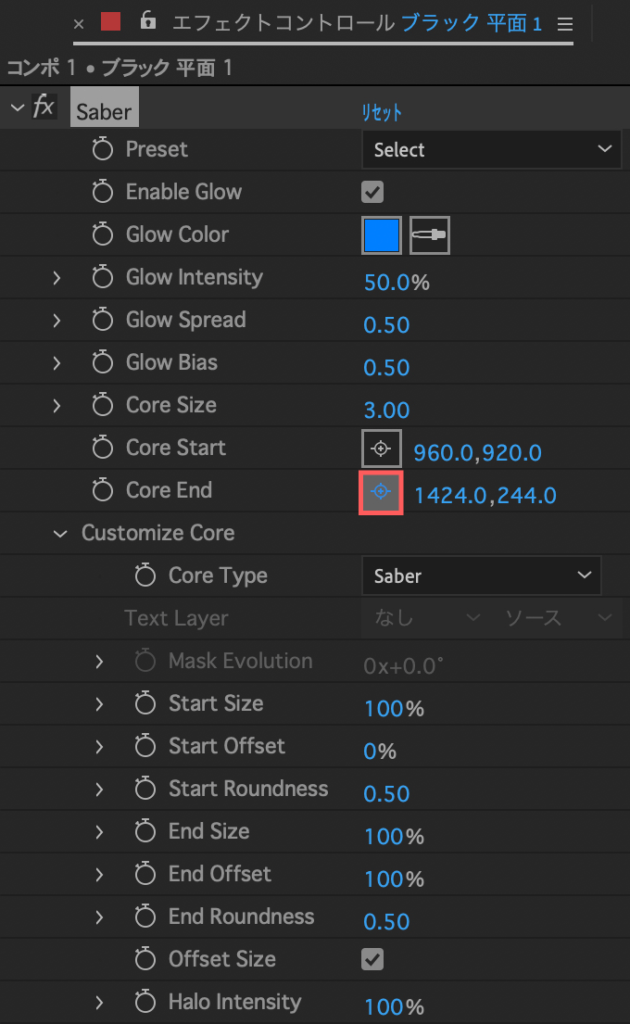
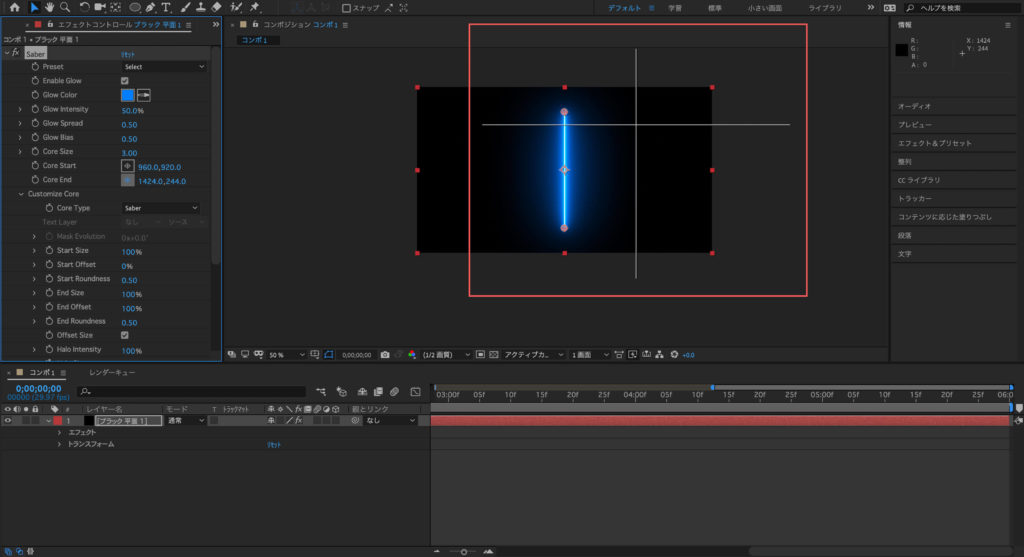
『Core Start』のターゲットボタンをクリックすると
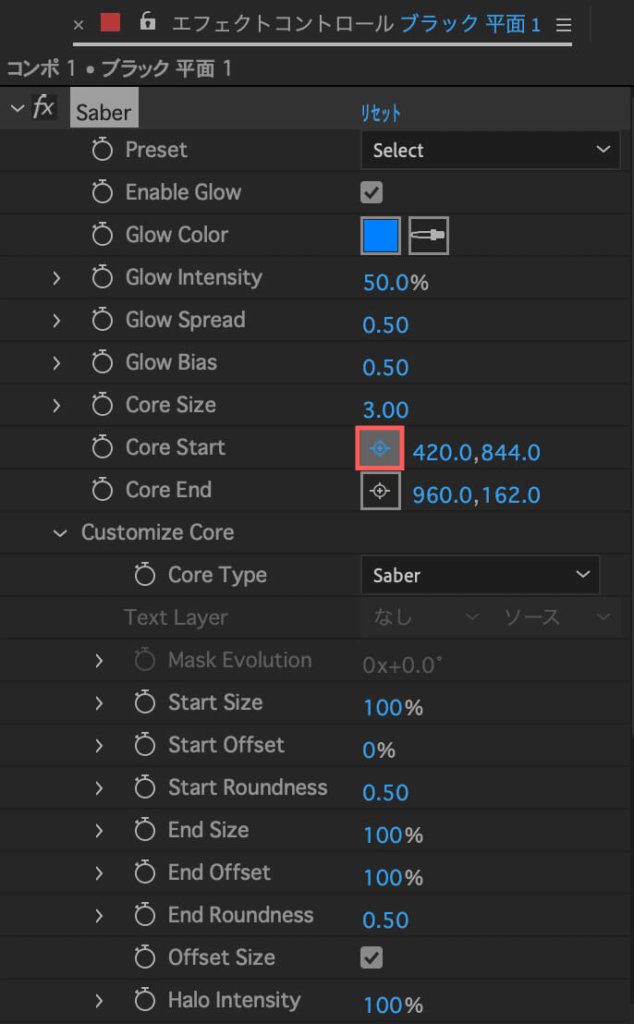
+ガイド付きで『Core Start』のポイントを動かすことが可能です。
+ガイドの中心にポイントが移動します。
『Core End』も同様にターゲットボタンをクリックして移動することができます。
『Customize Core』内にある『Offset』などは記事での説明は中々難しいので
実際に『Customize Core』の『Layer Masks』や『Offset』を使用したチュートリアル動画をいくつか紹介しておきます⬇︎⬇︎
最後に
『Saber』以外にも『After Effects』で使える便利な無料・有料ツールはたくさんあります。
*『After Effects』で使える無料ツールは以下の記事にまとめているので、興味のある方はぜひ読んでみてください⬇︎⬇︎
*『After Effects』で使えるおすすめの有料プラグインやスクリプトをまとめた記事はこちら⬇︎⬇︎
以上、最後まで読んでいただきありがとうございました(=゚ω゚)ノ